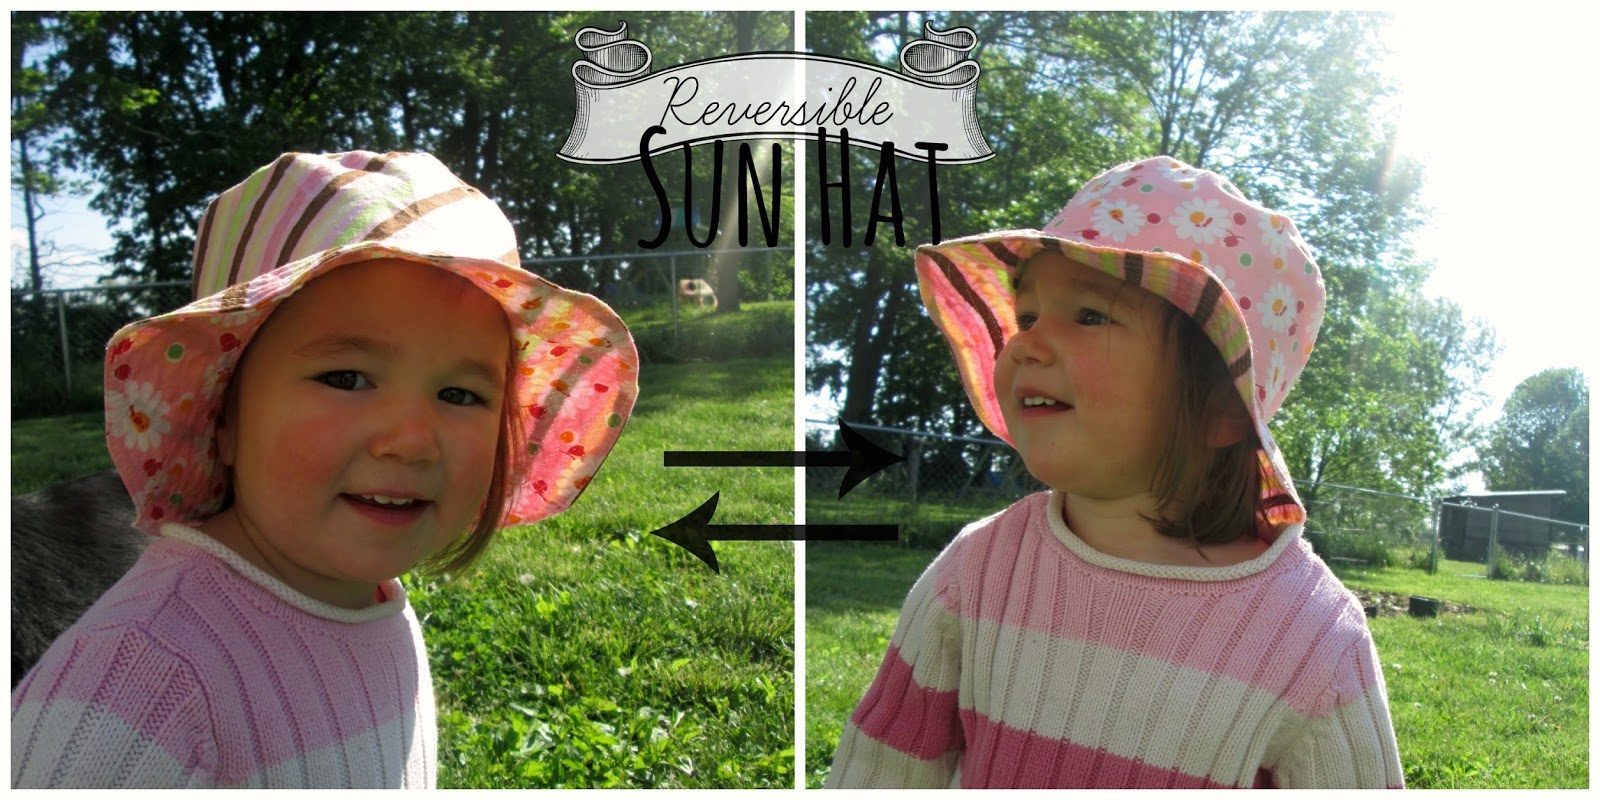
Now that we’re outside daily (and I had my first tick trying to suck my blood this year…eww), I decided dabble in making sun hats. After a bit of trial and error, they aren’t too hard (only ten steps!) and as a bonus, they’re reversible! Two cute hats in one!
 |
| Kate liked the colorful inside lining. |
You’ll Need:
Less than half a yard of TWO fabrics, depending on size of hat and if it will be reversible
Interfacing (unless using thicker fabric such as denim, canvas, etc)
Measuring tape and cardboard, paper or something similar for a template
Scissors, thread, chalk, etc
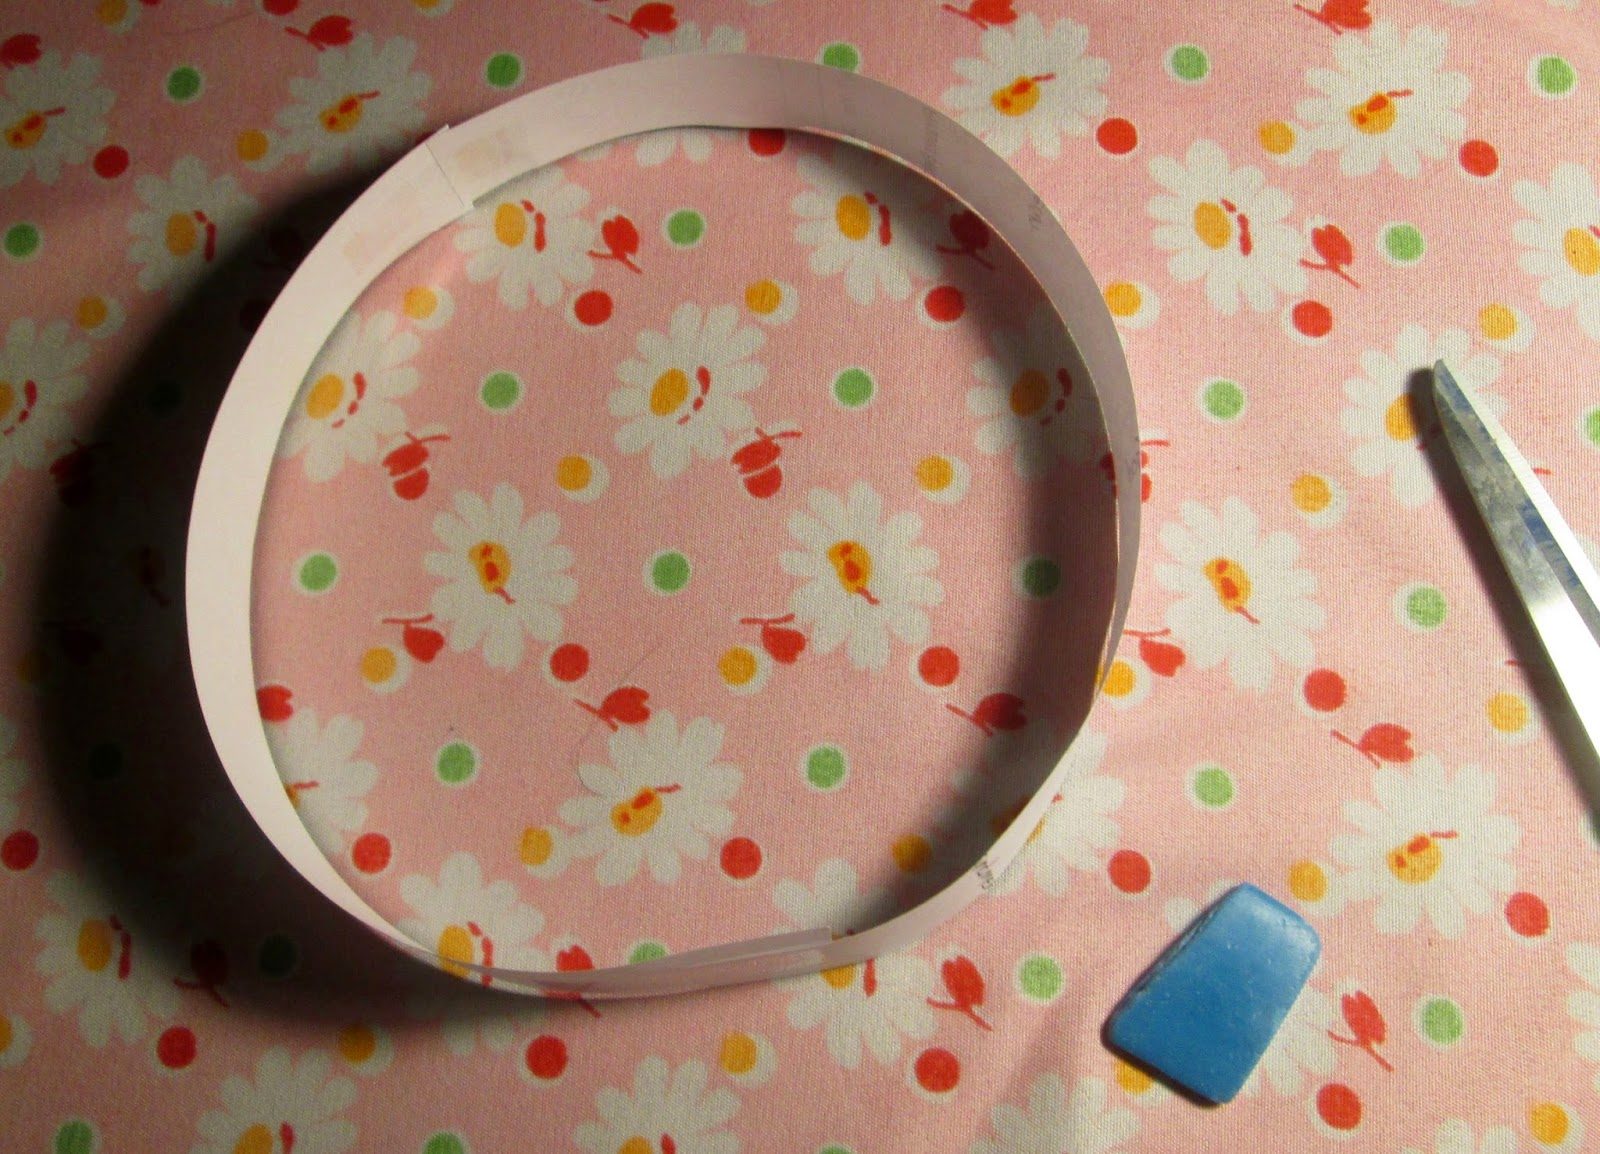
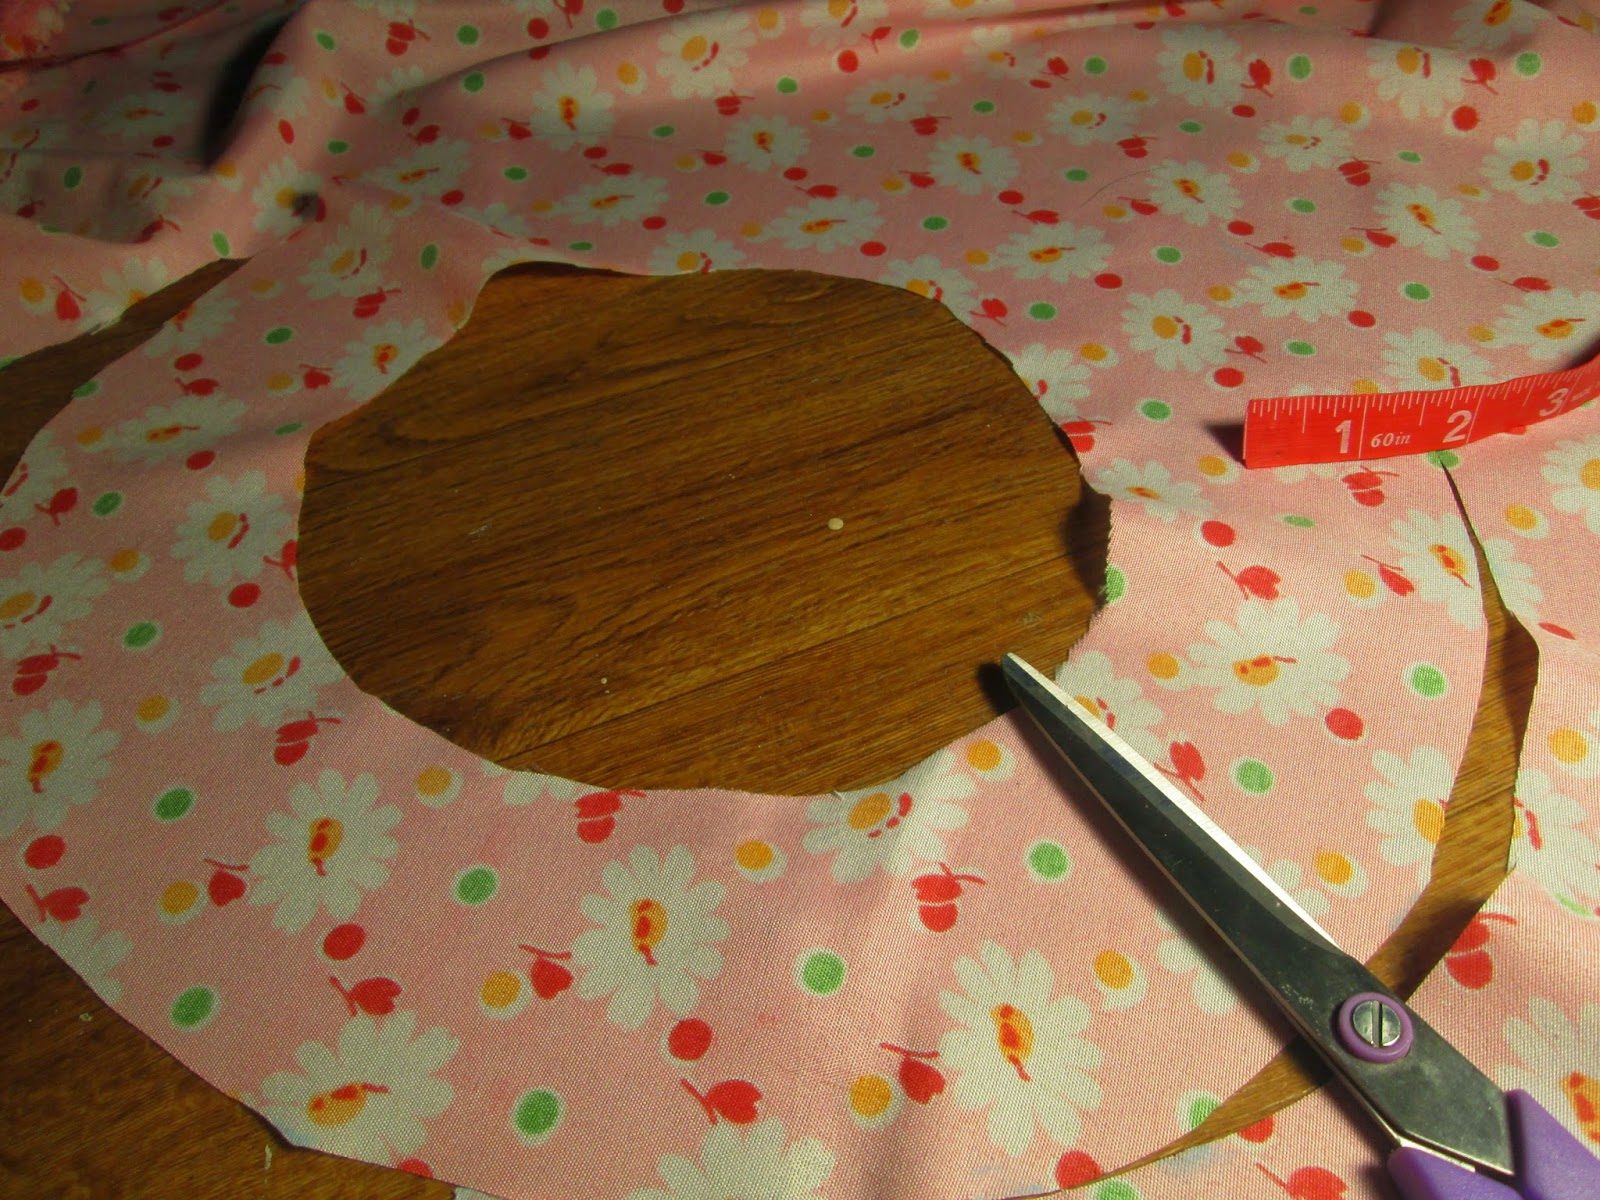
1. Measure head circumference and add one inch. Make a circular template and cut out circle as far away from the edge of the fabric as many inches as you’d like the brim to be (you’ll be using the cut out circle as the center circle of your brim ring).
2. Cut out a brim ring (see how the center circle was the circle that will make the top of the hat?)
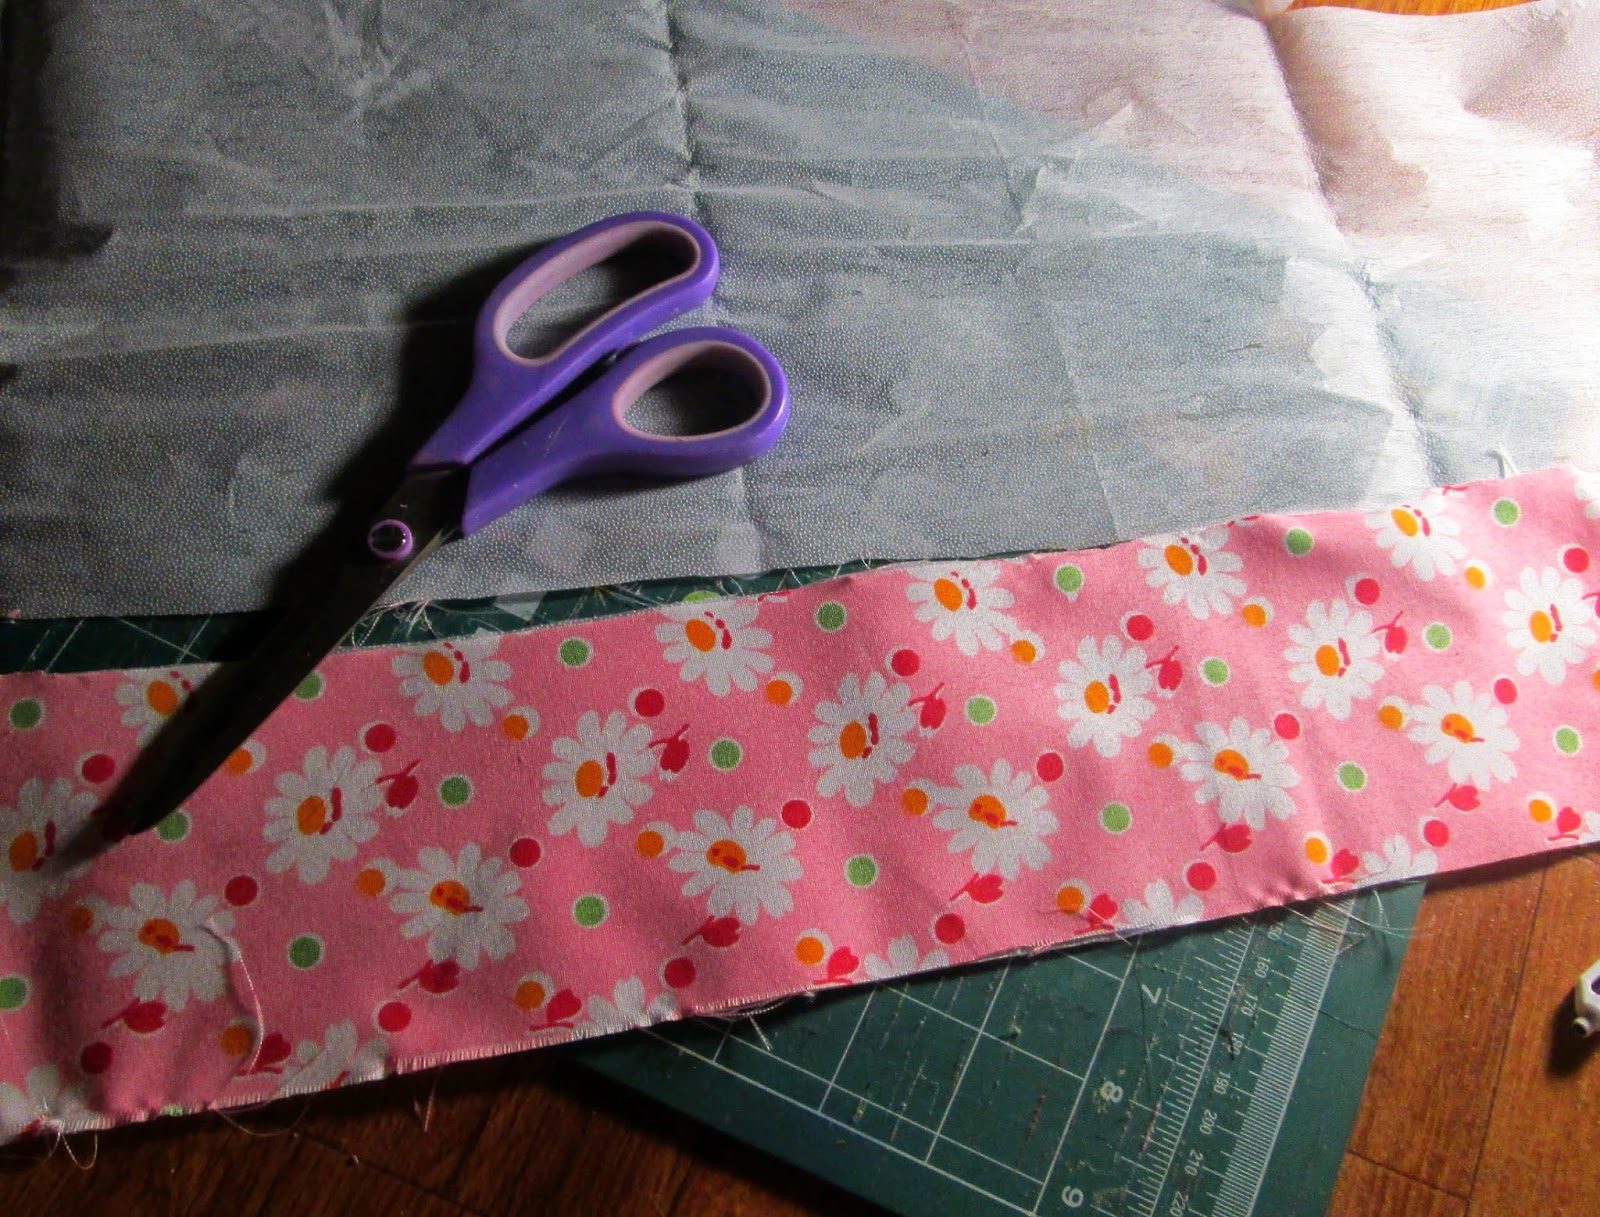
3. Cut out a strip the length of the head circumference that will connect the top of the hat and the brim. The width measurement will be the measurement from the forehead to above the eyebrow, plus seam allowance.
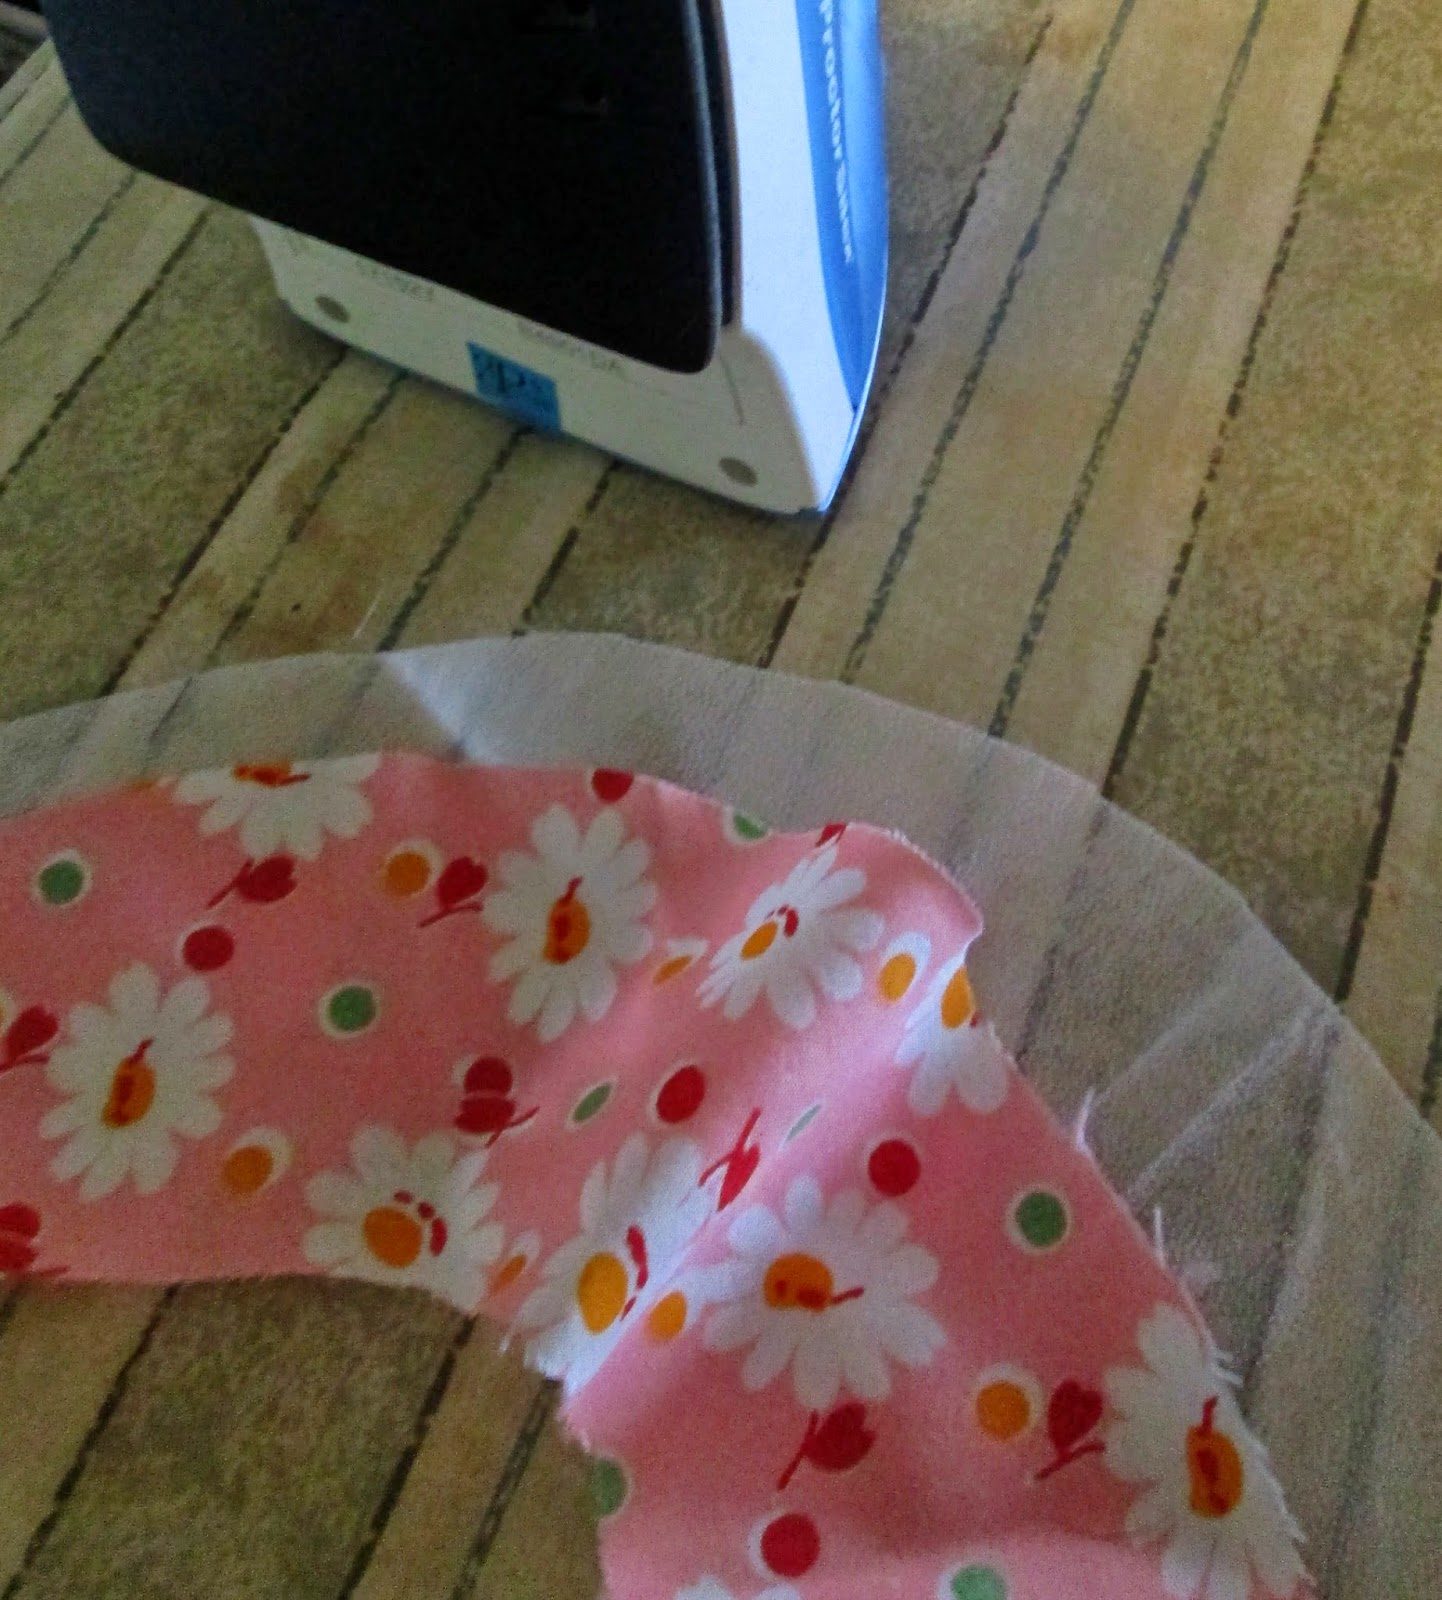
4. Cut out interfacing the same size as the three hat pieces. Attach to the fabric.
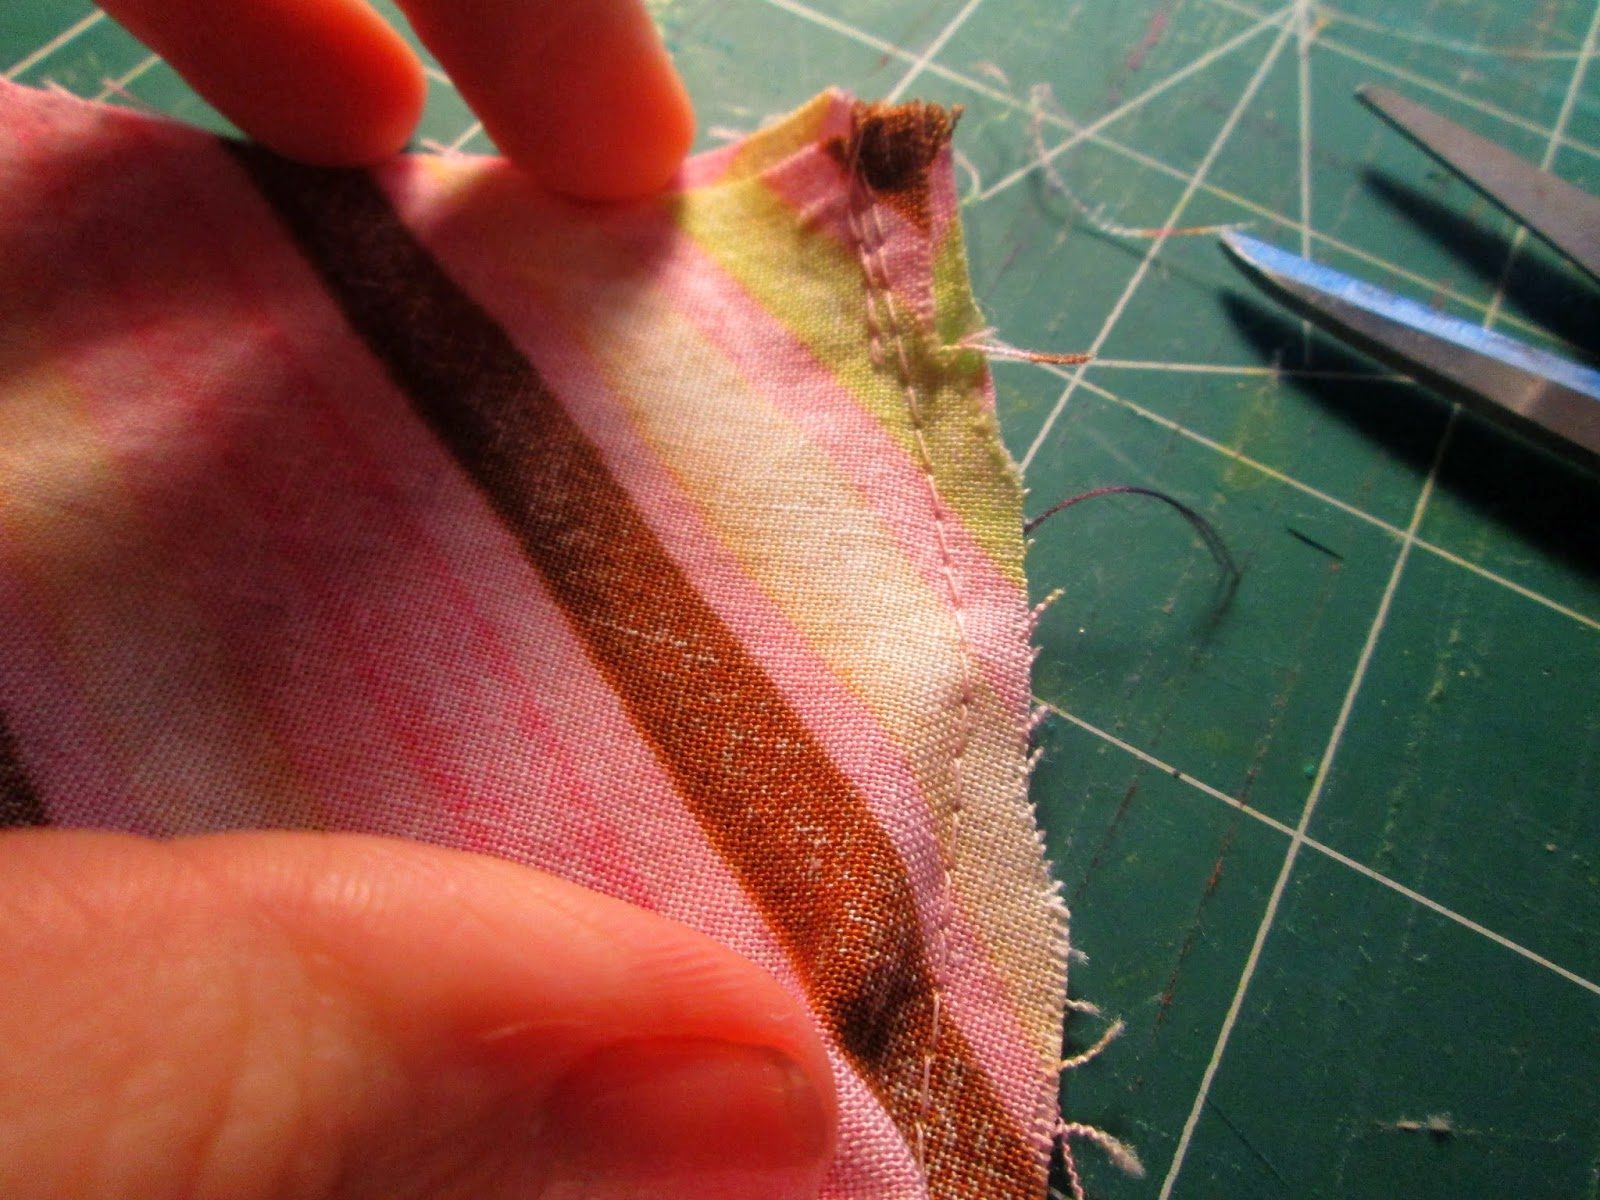
4. Sew together ends of the strip that will attach the top part of the hat to the brim.
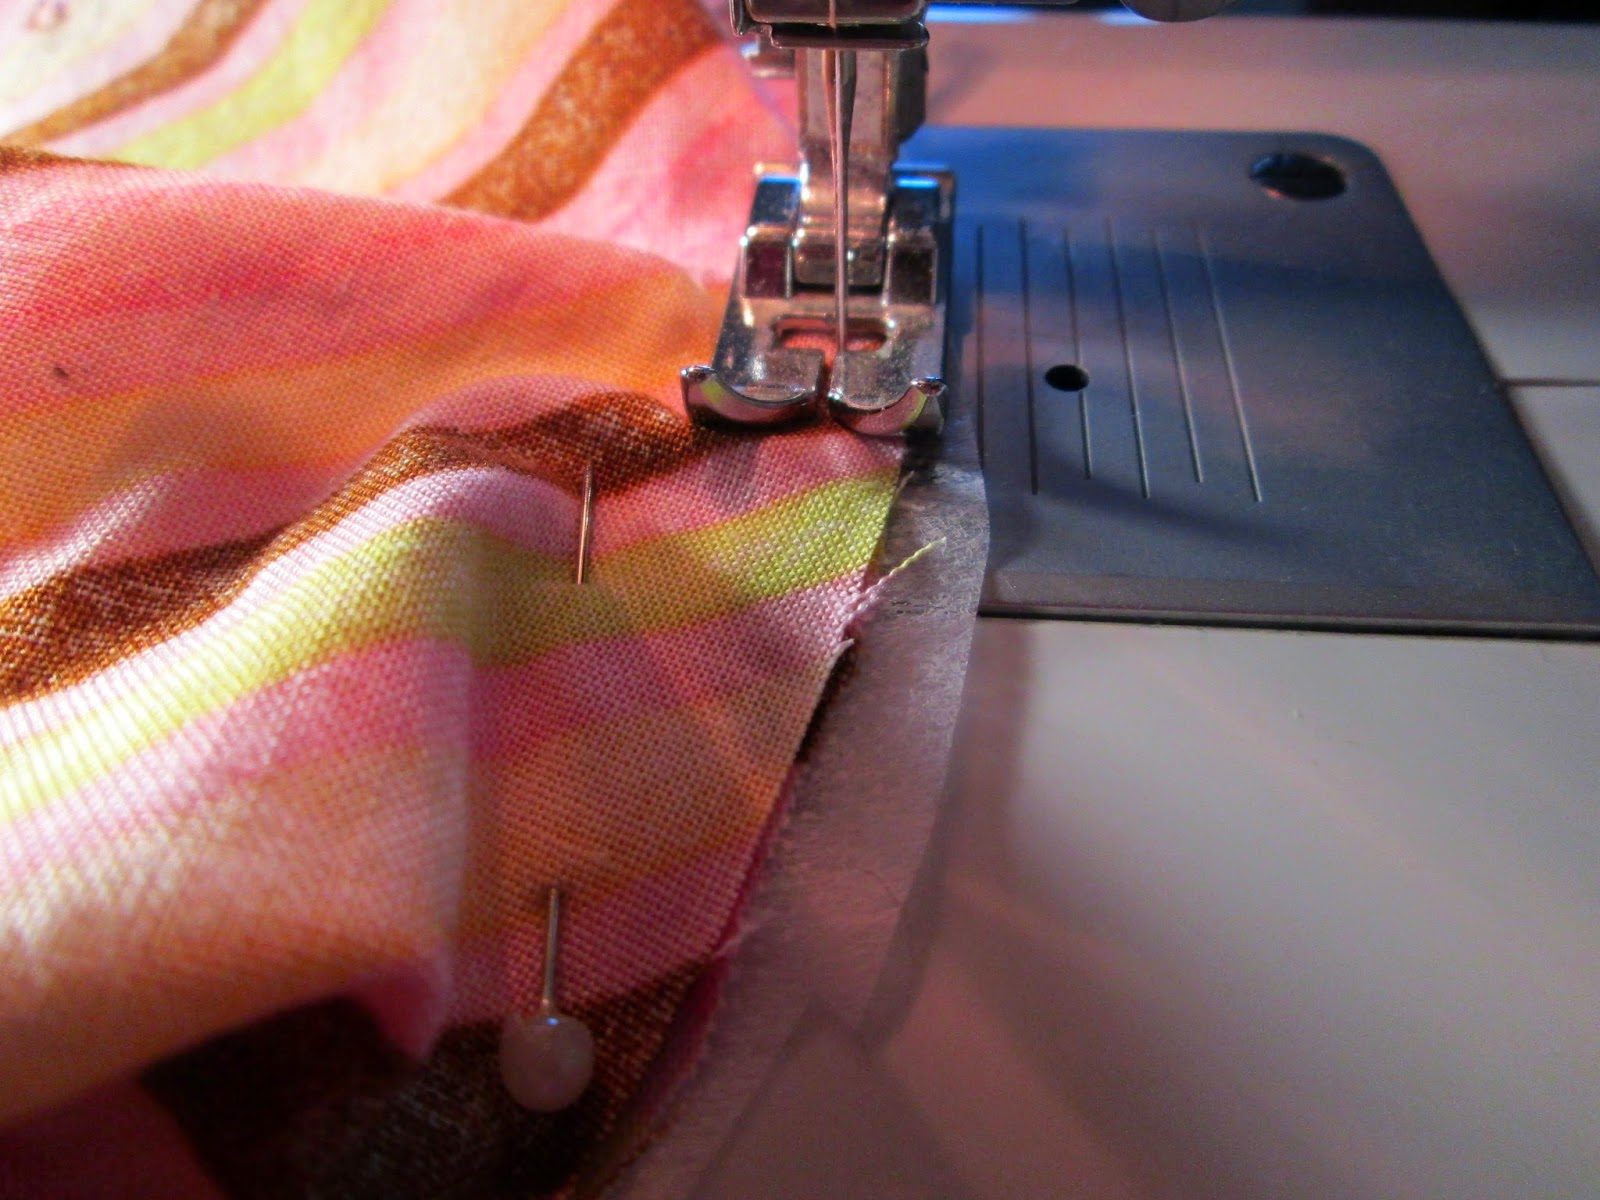
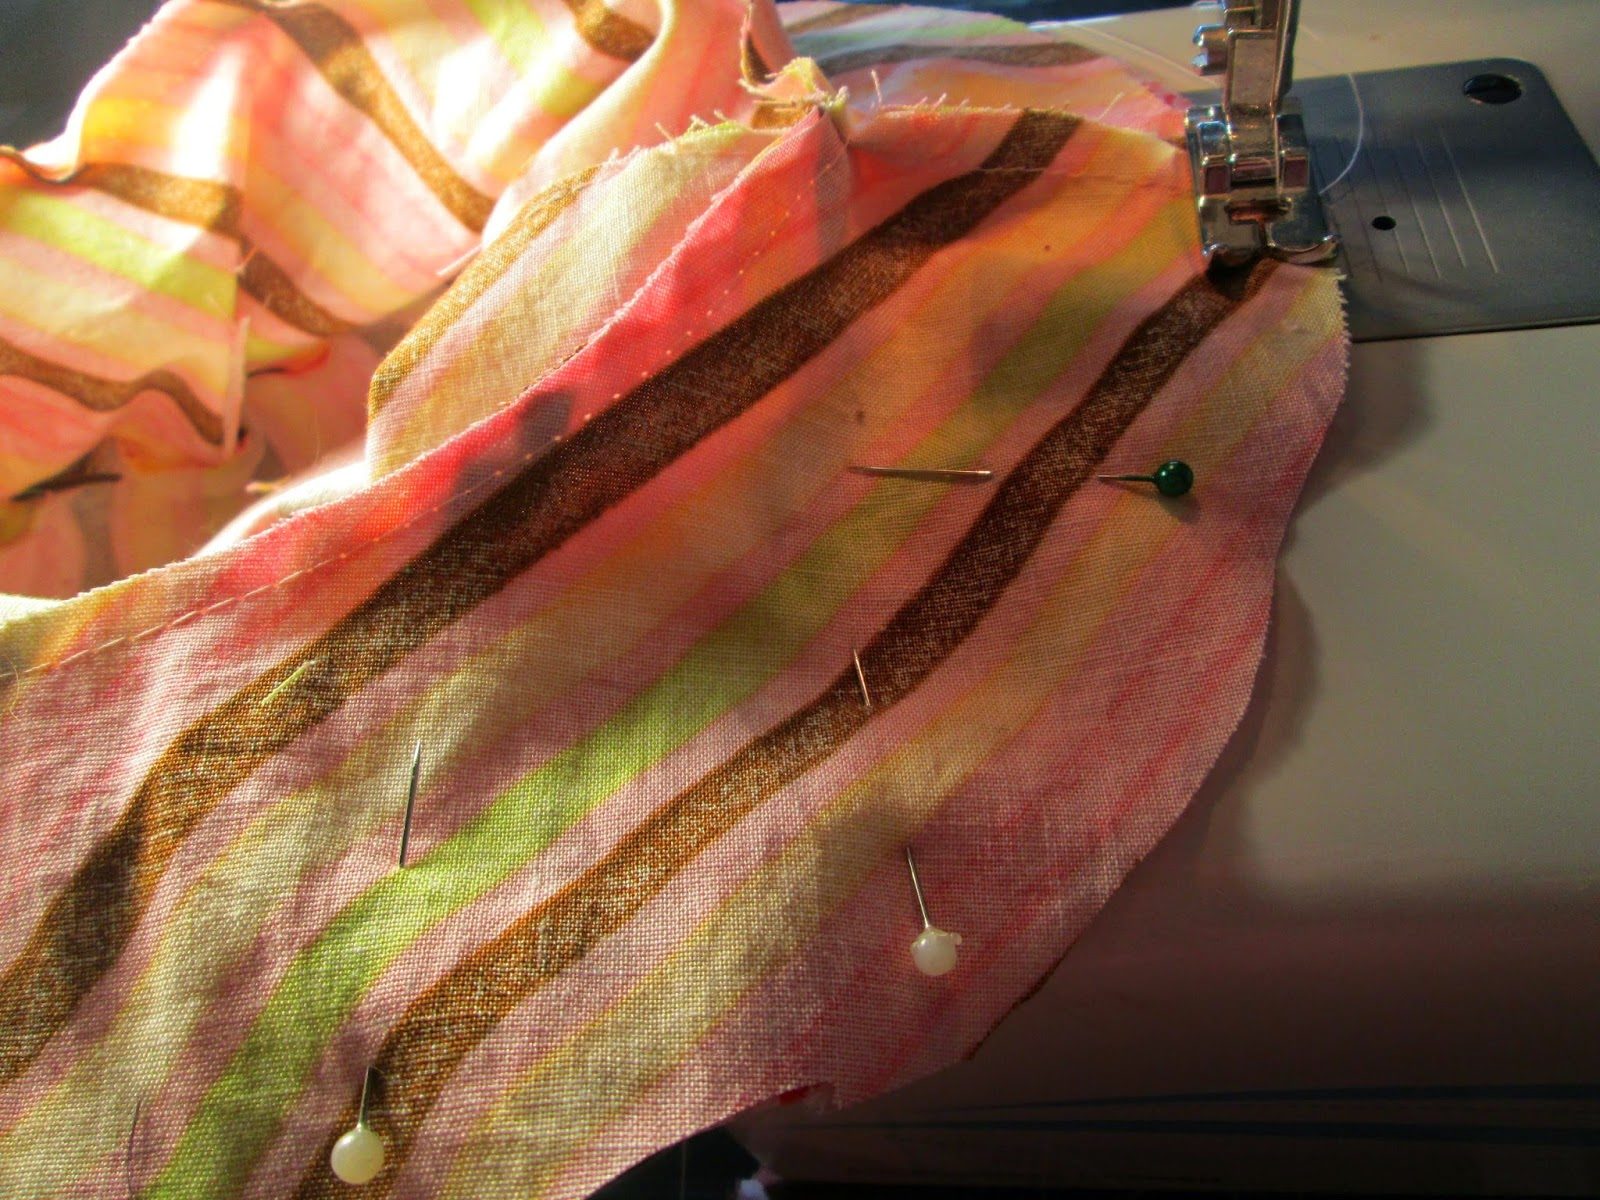
5. With right sides together, pin the top circle of the hat to the middle strip. Sew together securely.
6. With right sides together, pin together the brim to the middle strip (if necessary, you may cut the brim to shrink the circumference but you’ll need to sew together the ends of a cut brim as well). Sew together securely.
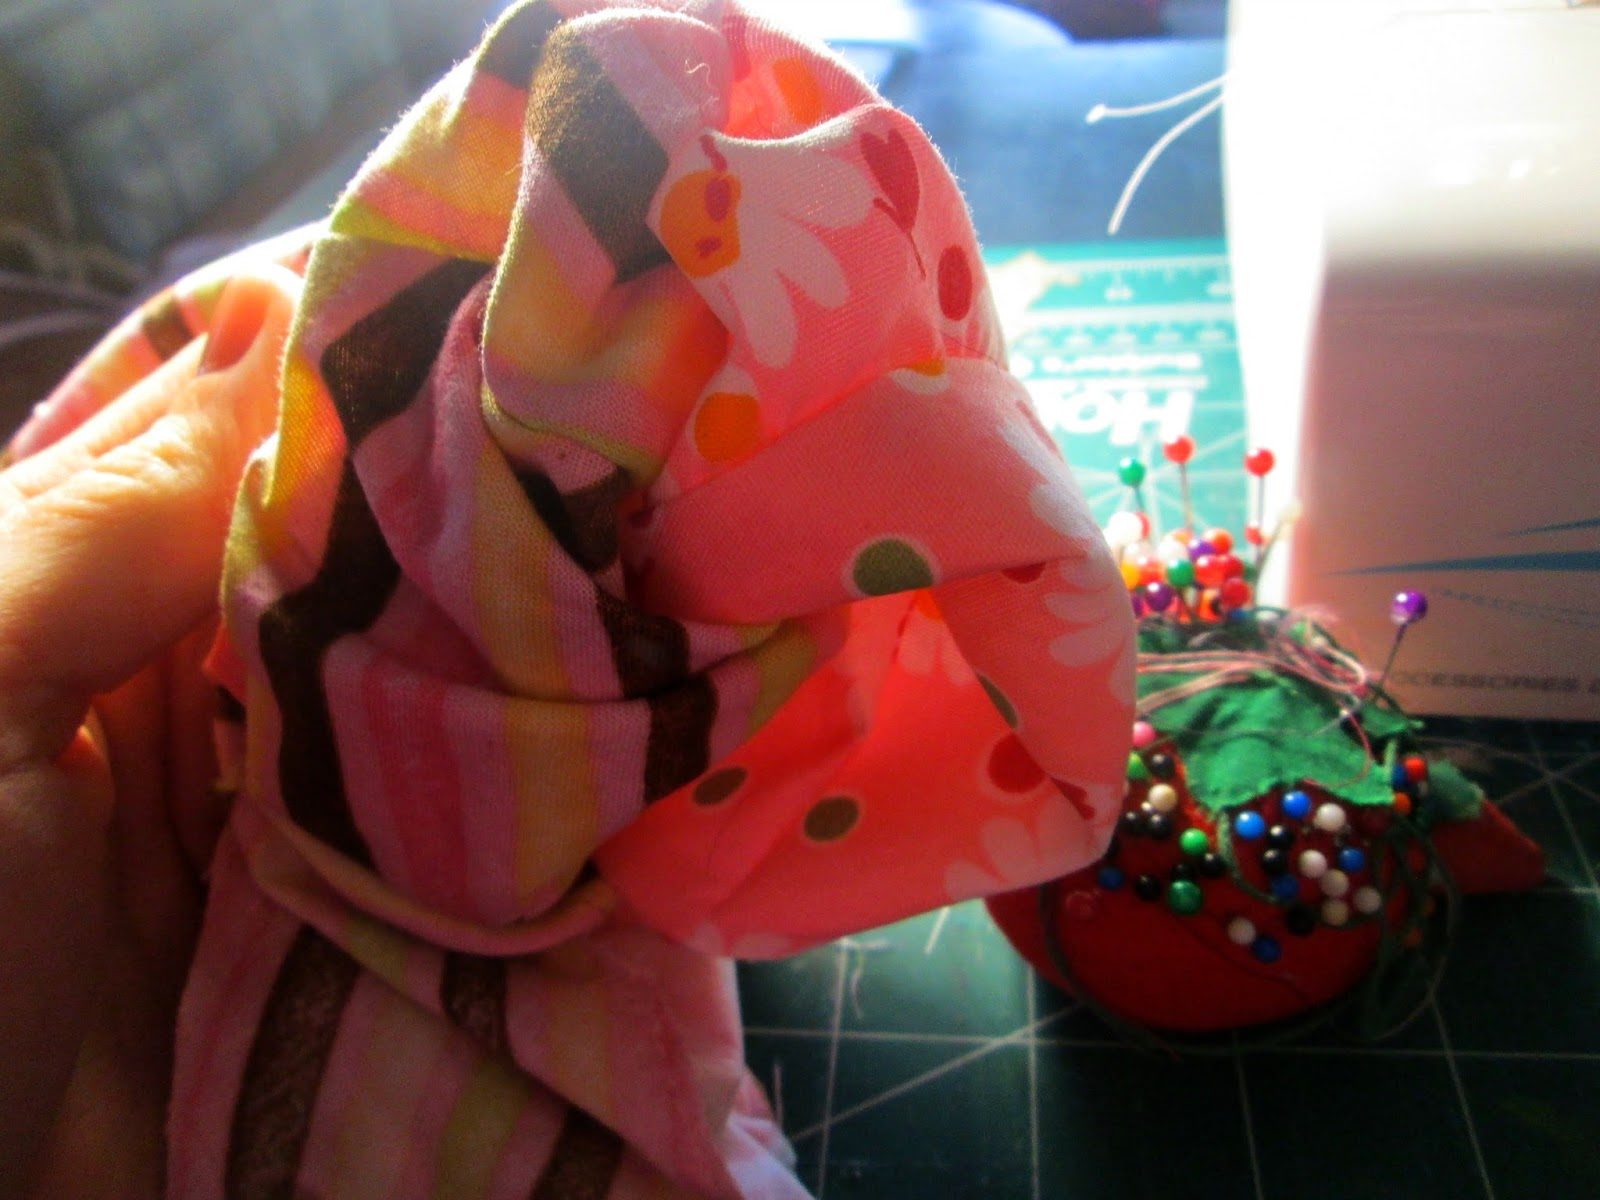
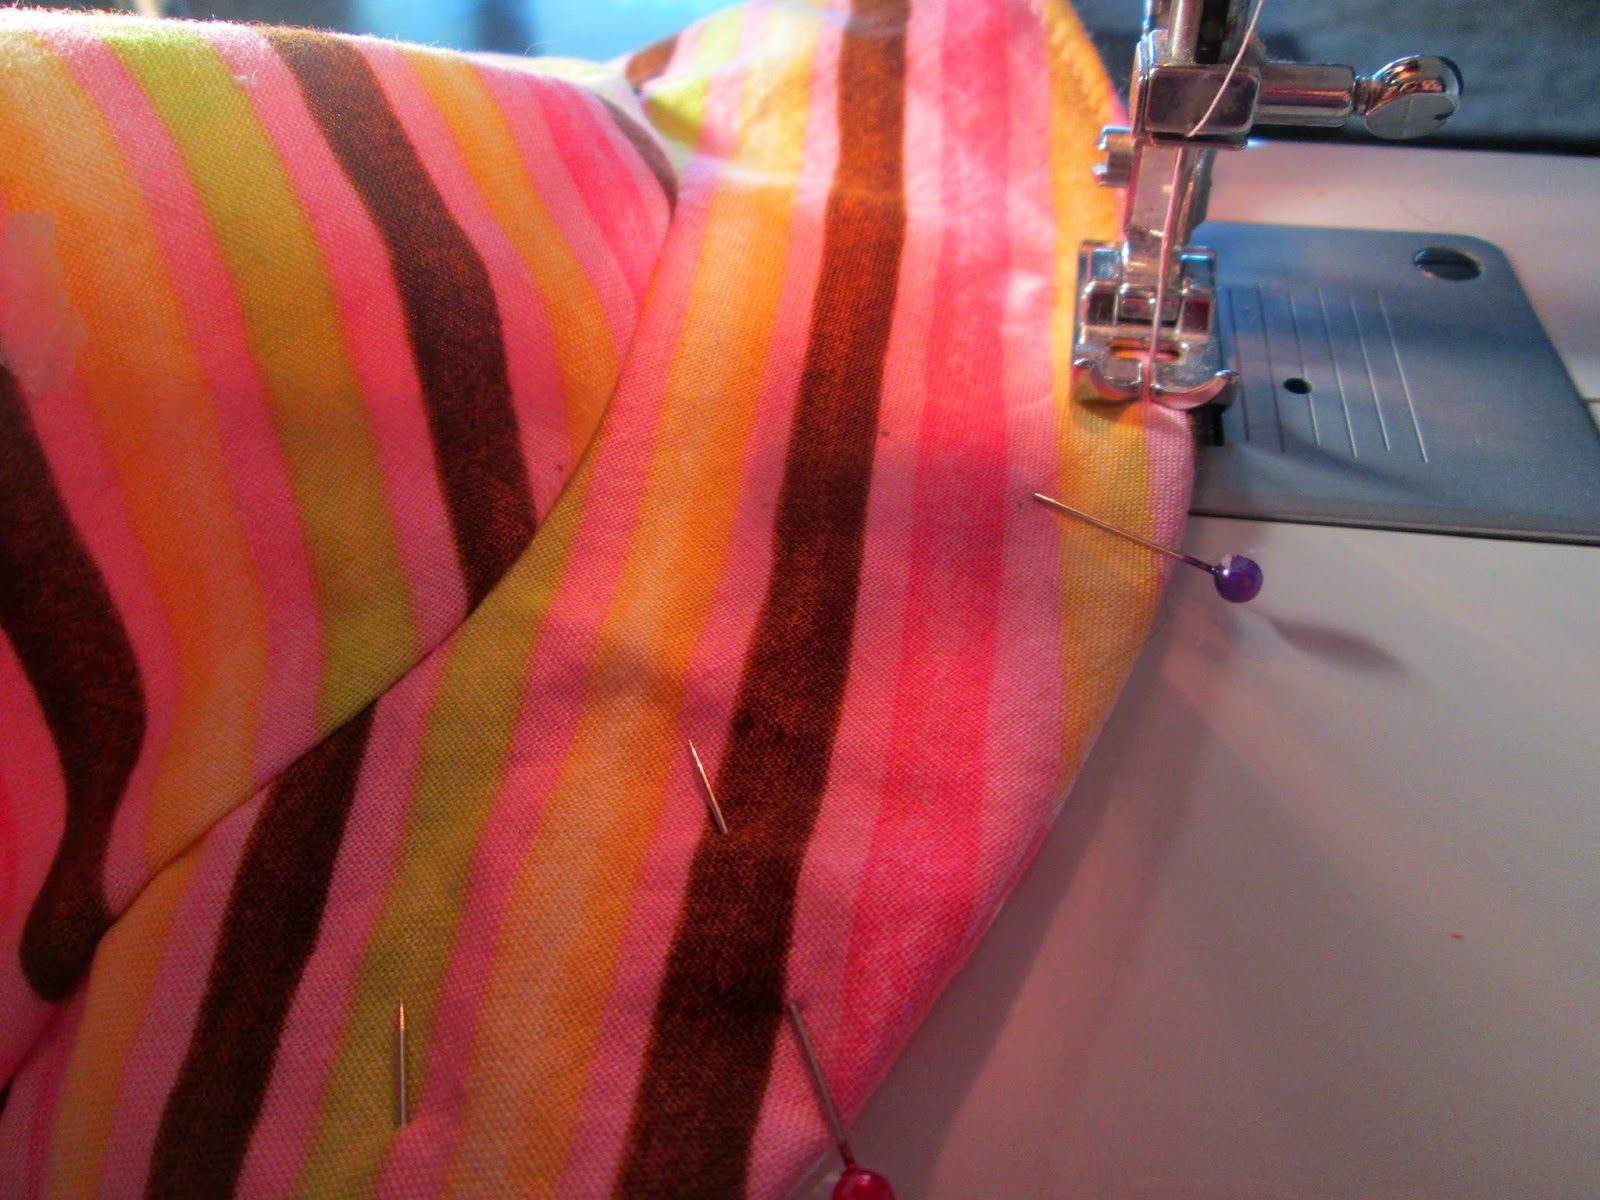
7. Repeat steps 1 through 6 for the lining of the hat (you may forego interfacing if you choose) as close to the same size as the first hat–hence making a template! Once assembled, with right sides together, sew around the outer brim of the hat, leaving a two inch gap to allow the hat to be turned right side out.
8. Push fabric through gap and turn right side out.
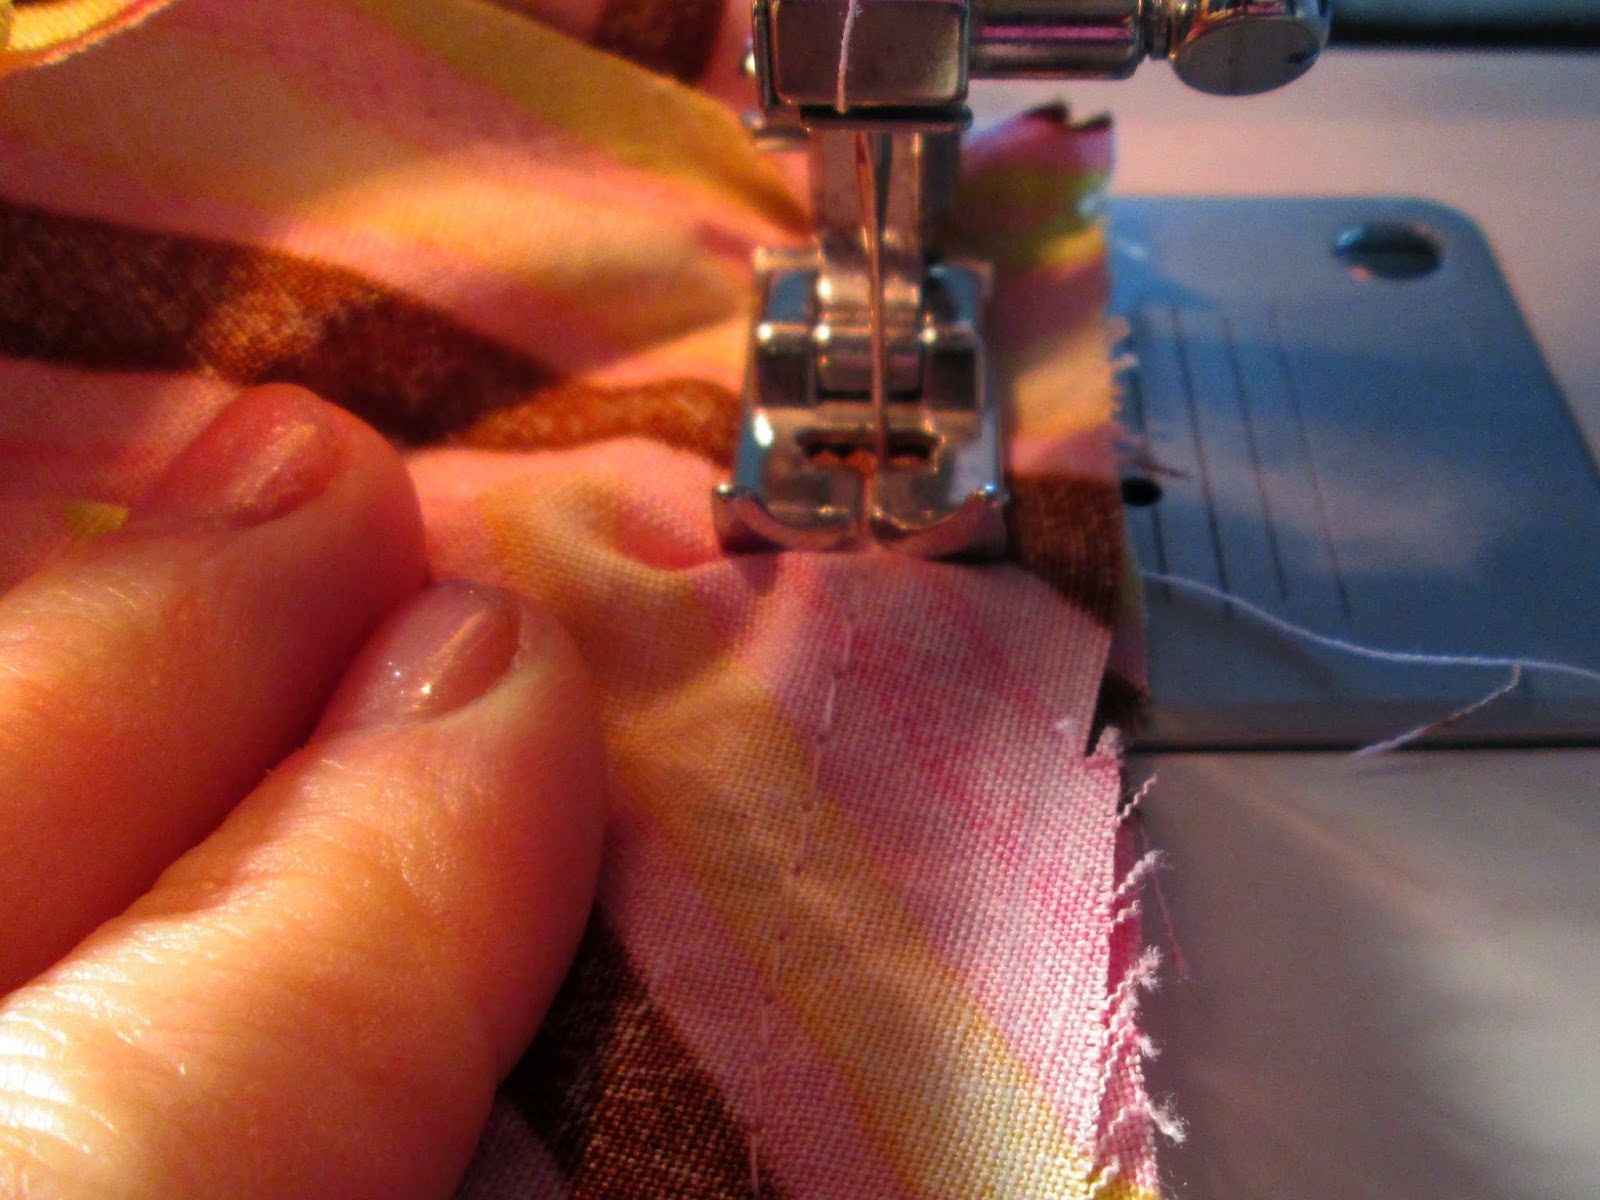
9. Sew along outer edge of brim, pinning the open gap under to secure and close.
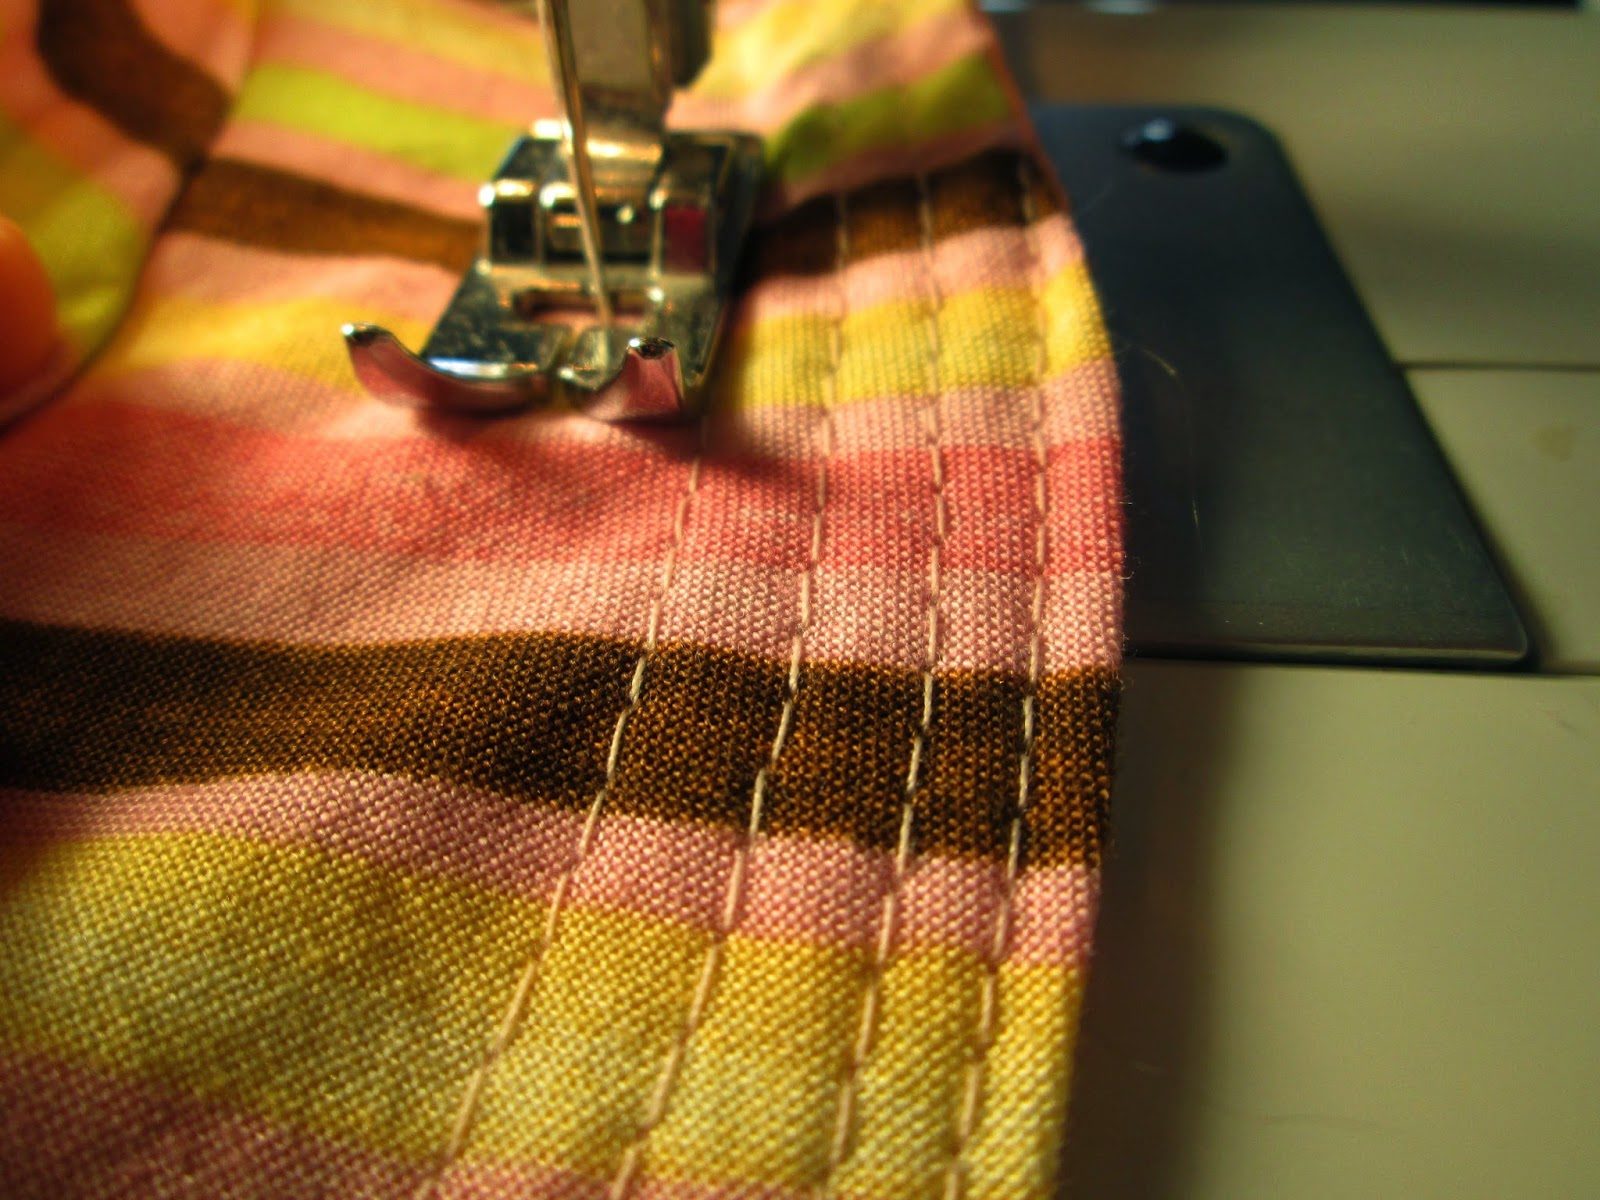
10. Sew several times around the brim to stiffen. You may also sew around top circle of hat to secure.

