 |
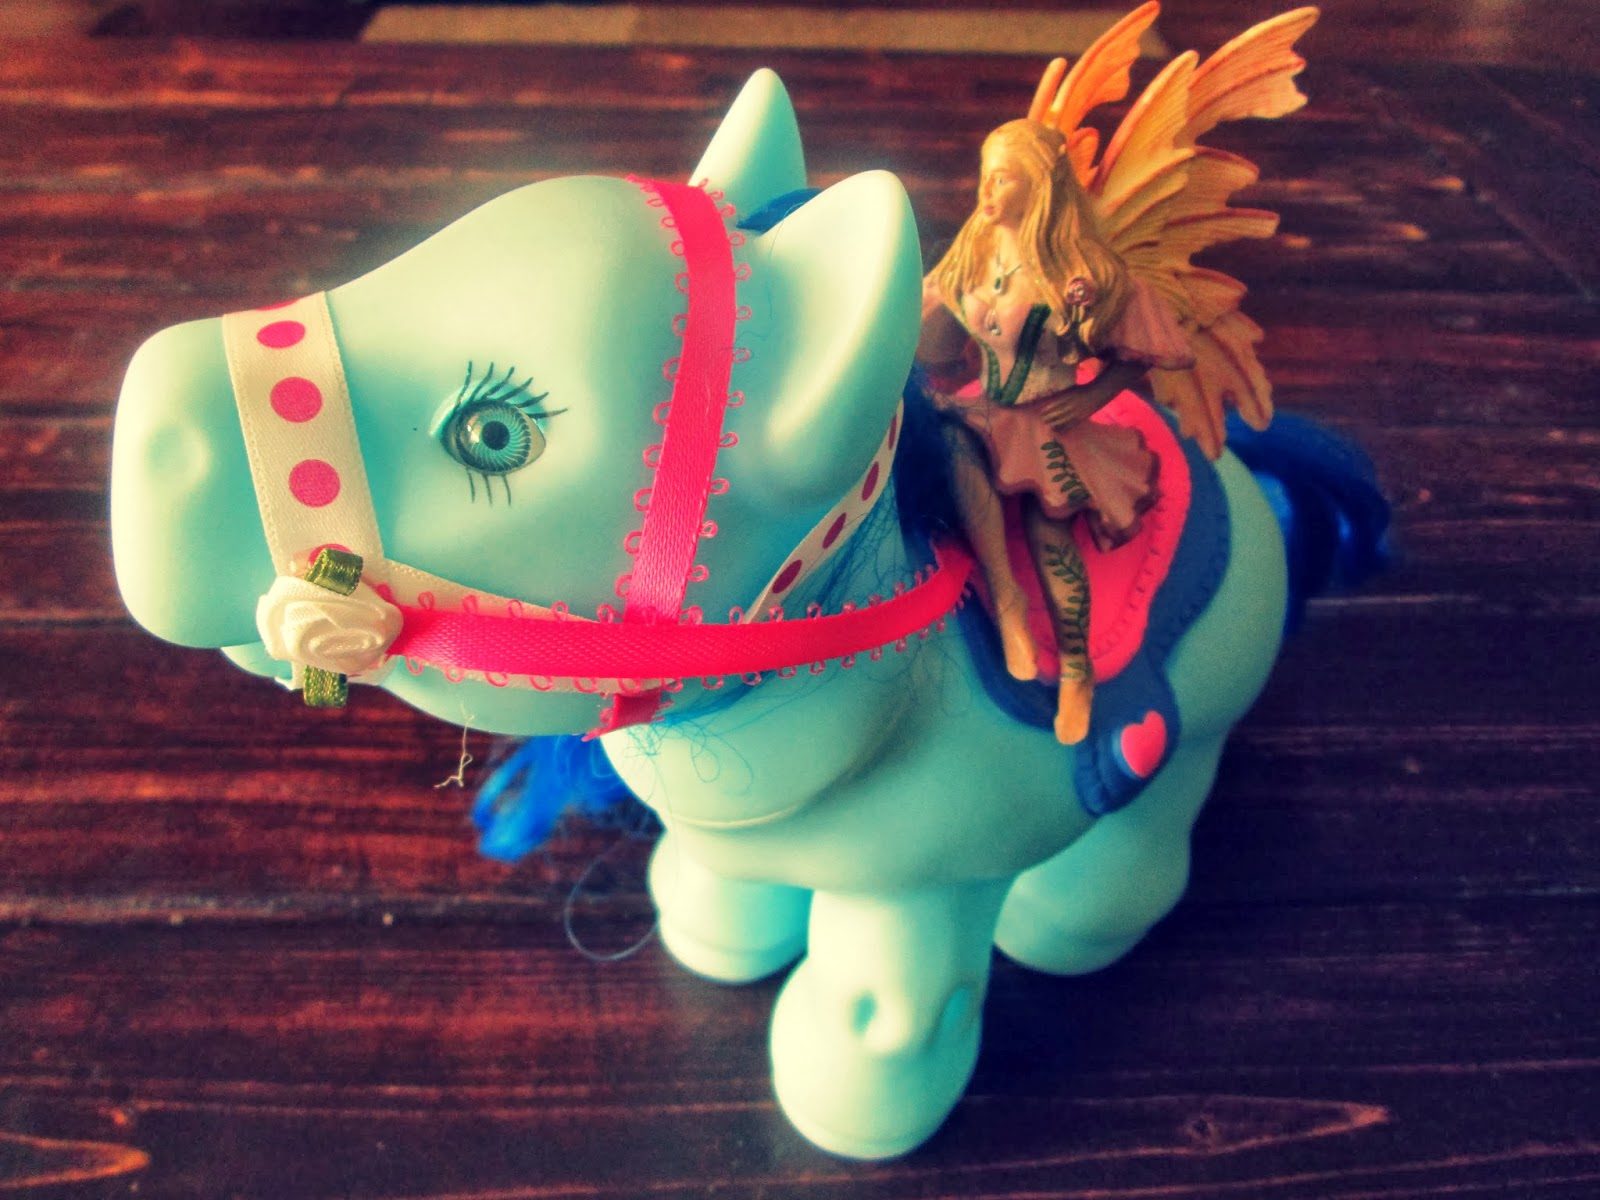
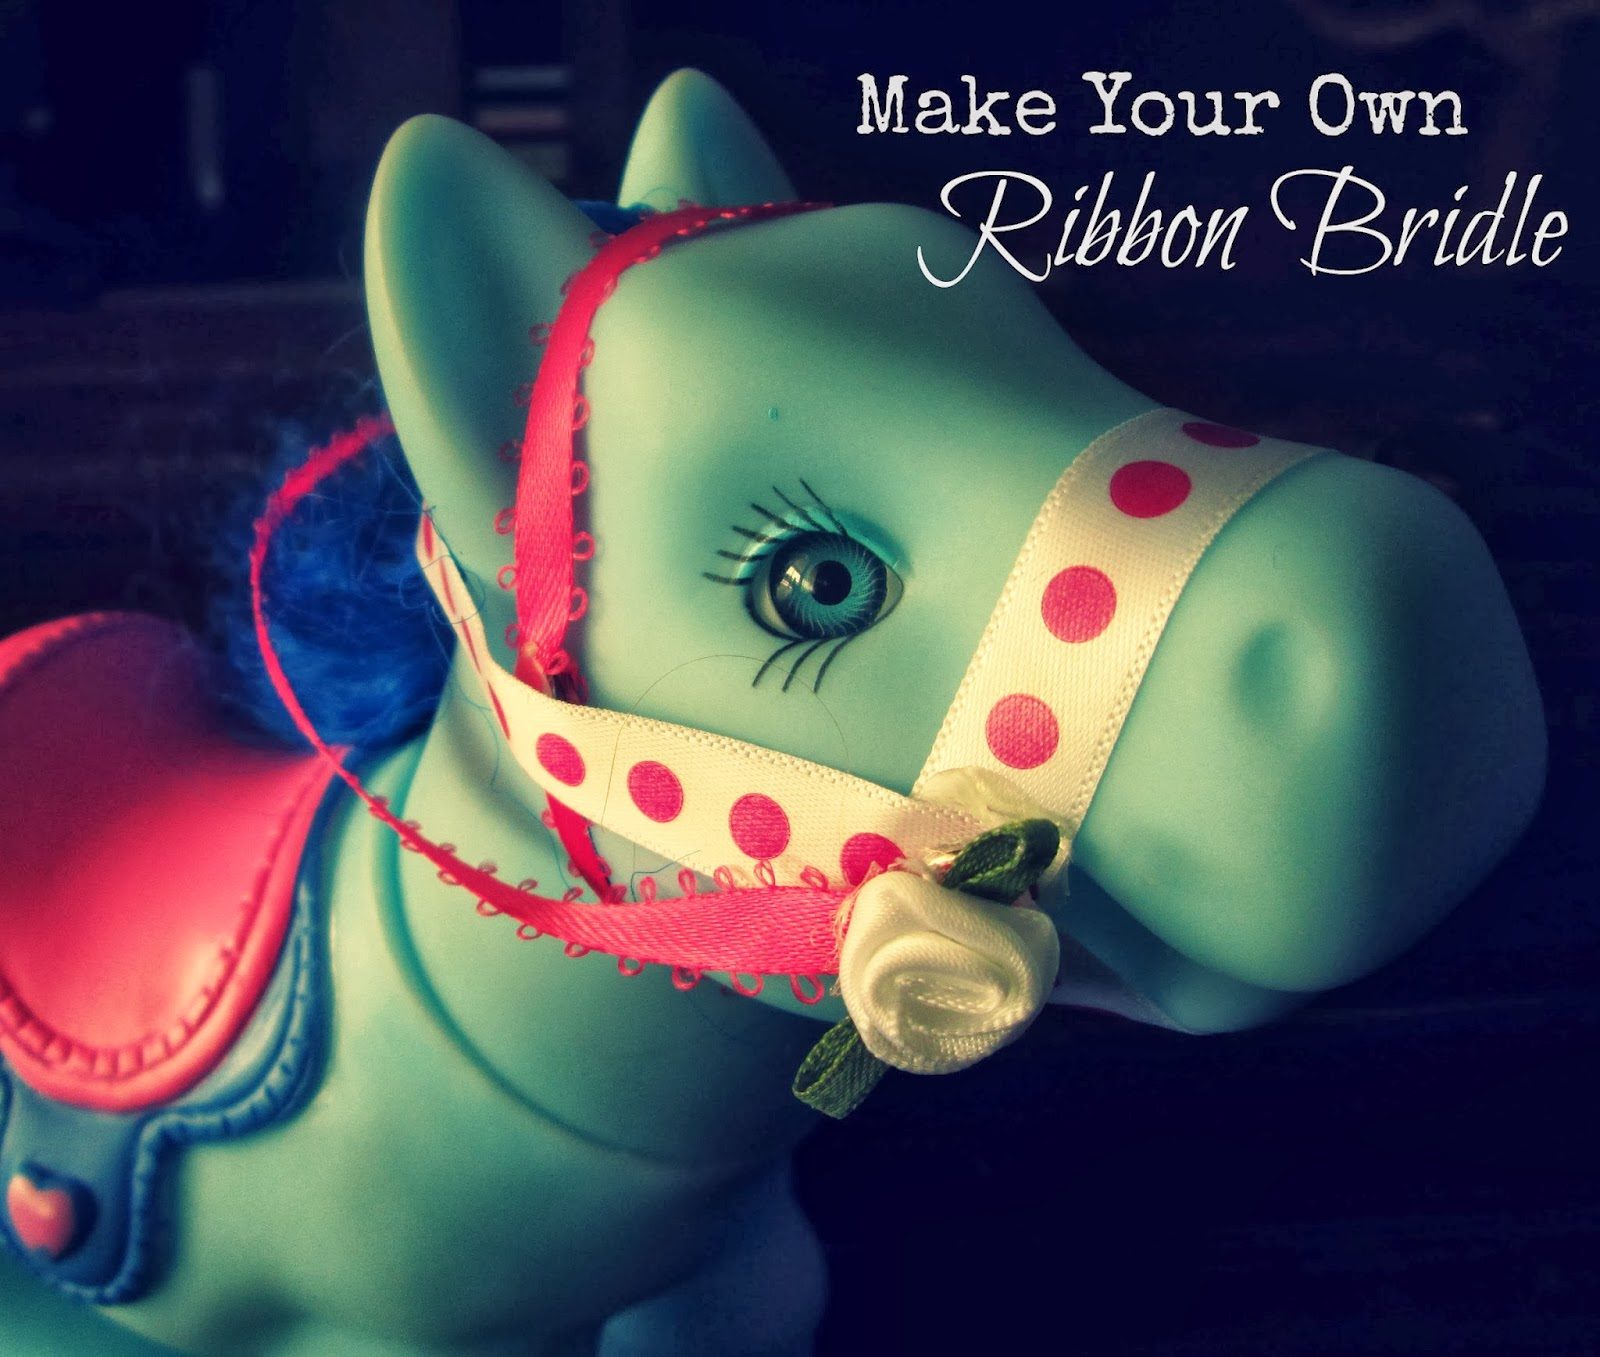
| The girls’ My Little Pony look-alikes. A friend calls them My Little Phonies… |
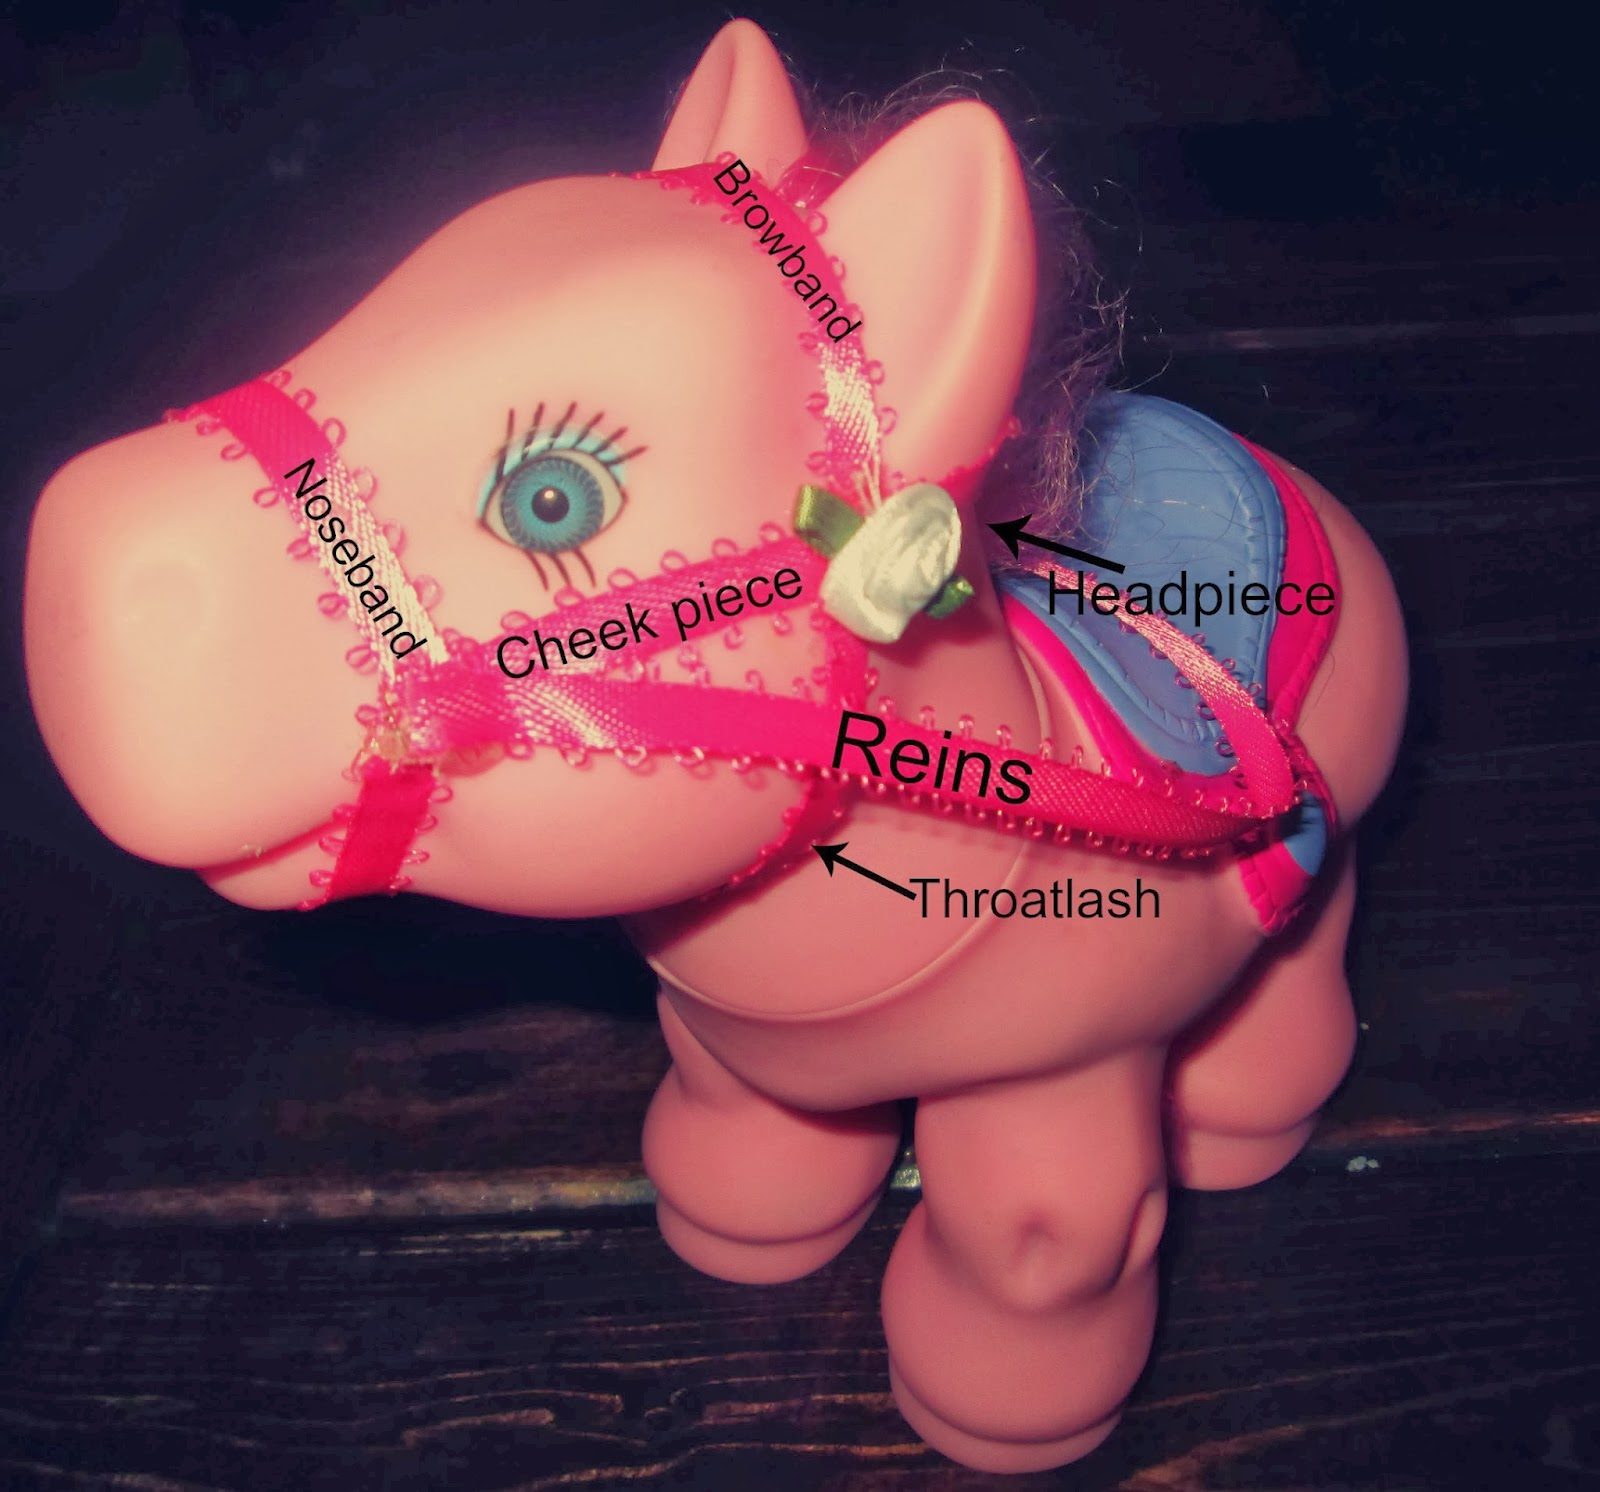
The girls have been gifted numerous toy horses and oddly, more often than not, they’re missing their bridles. How is Barbie/a fairy/a baby doll/etc supposed to hold on?! Well, last night, the girls and I sat around the table and snipped and glued some cute little ribbon bridles together for them (this is a no-sew project since hand sewing tends to fray the ribbon while the glue prevents fraying). Want to make one of your own? First, a lesson on the anatomy of a bridle (what do you expect from an obsessed enthusiastic horse lover?):
You’ll Need:
1 toy horse (obviously…)
Ribbon
Snaps or velcro
Hot glue gun and glue sticks
Scissors, accessories–decorative crystals, flowers, beading, etc
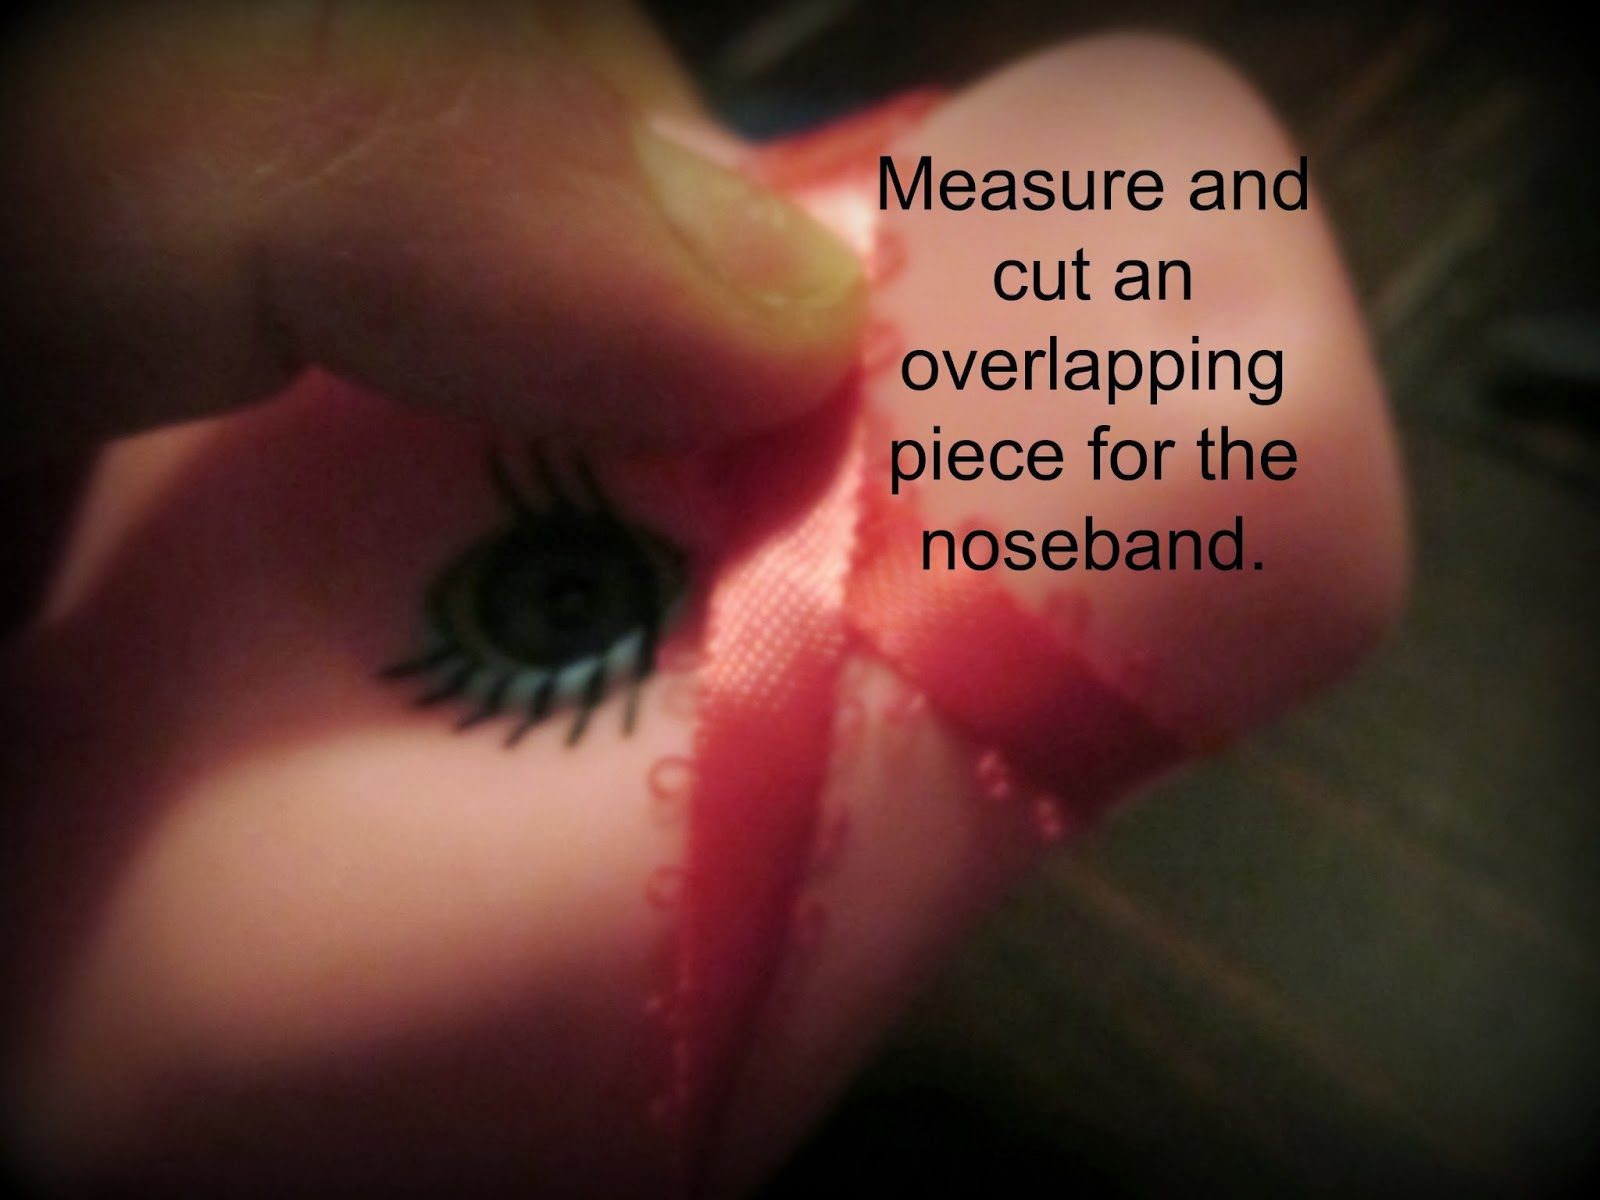
1. Measure and cut an overlapping piece of ribbon around the muzzle for a noseband.
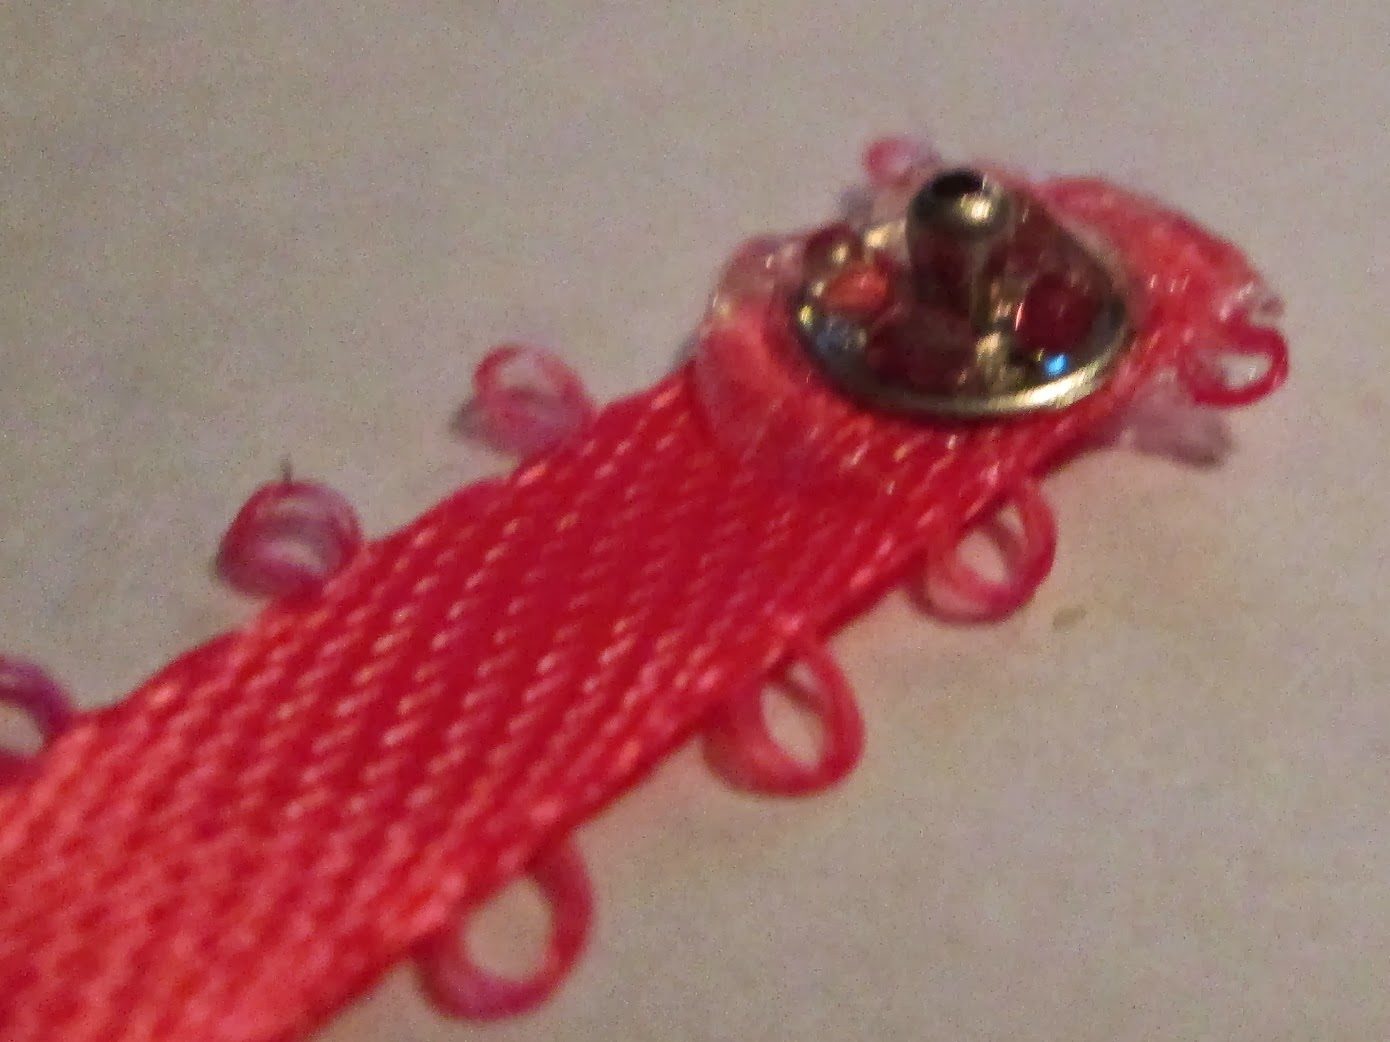
2. Glue one snap or velcro piece to the underside of the noseband (just one closure for now–the noseband position might need to be adjusted after adding the headpiece and if you glue them both on, you might have to rip one off to adjust).
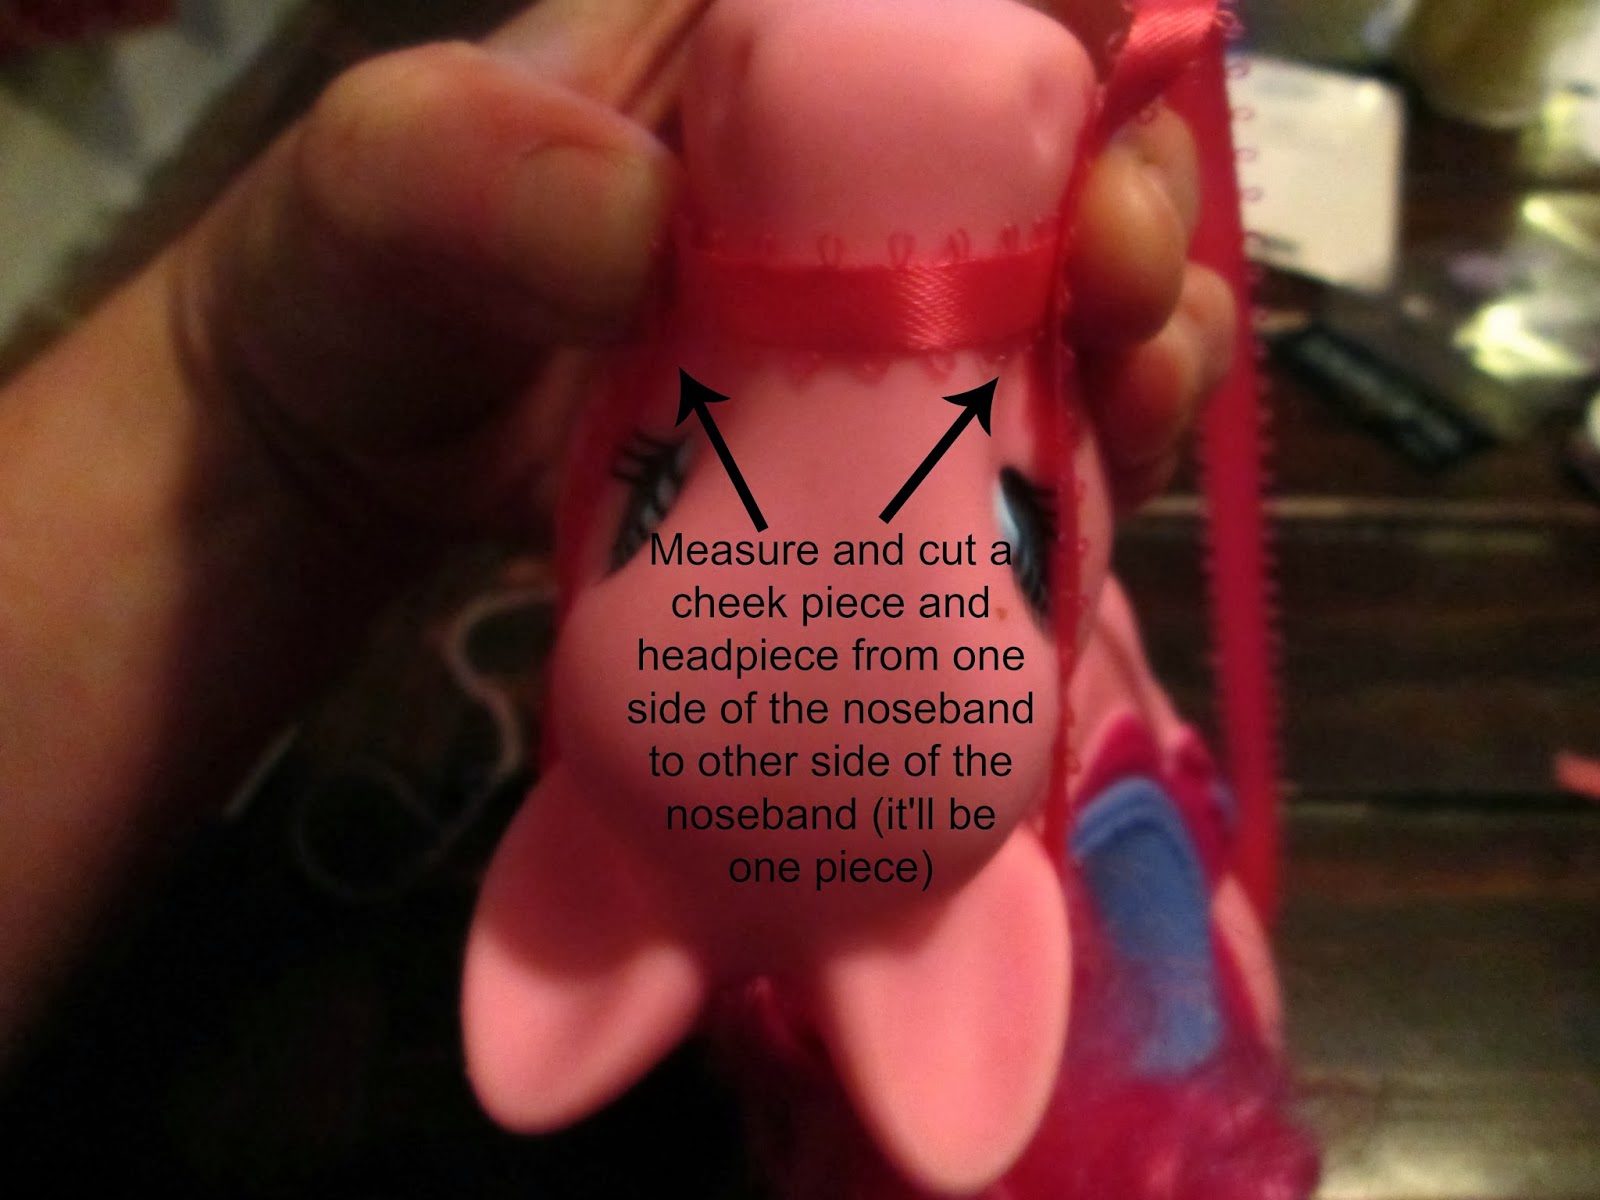
3. Measure and cut a piece of ribbon for the cheek and headpiece (which is one continuous strip). Make sure it reaches from one side of the noseband to the other.
4. Glue the cheek and headpiece to the underside of the noseband.
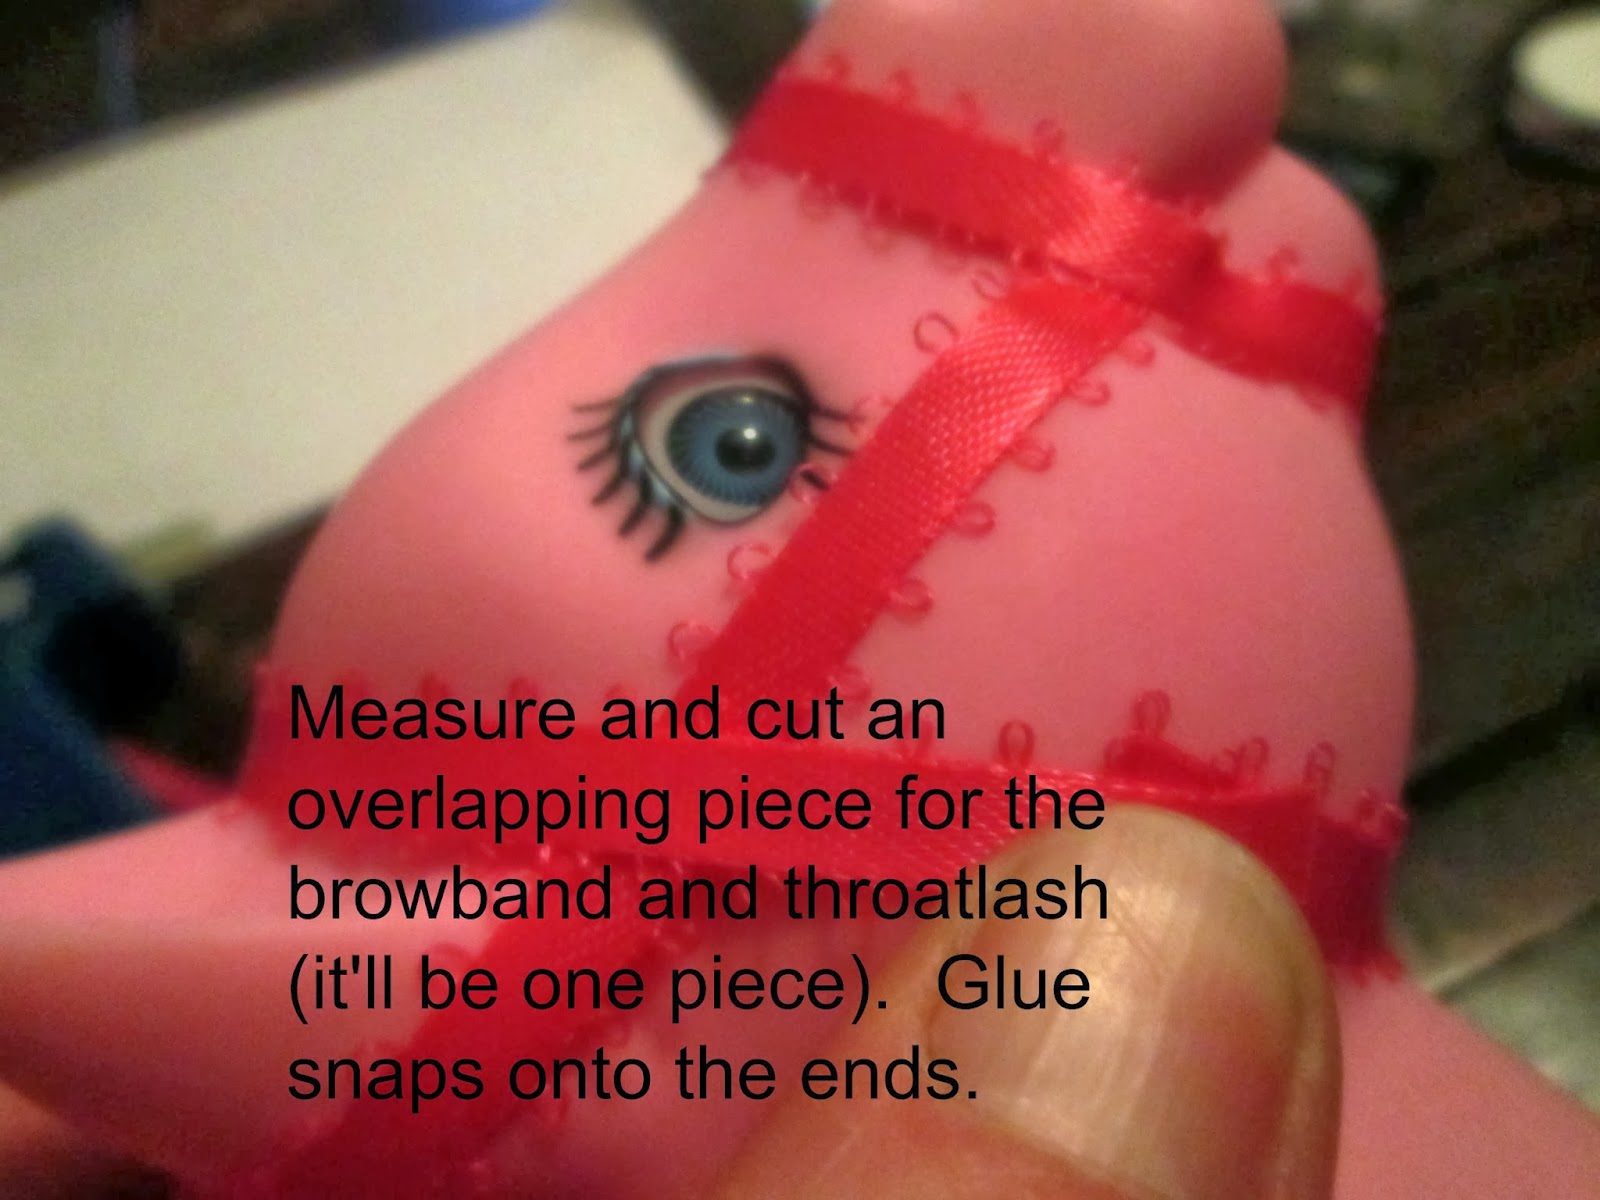
5. Measure and cut an overlapping piece for the browband and throatlash.
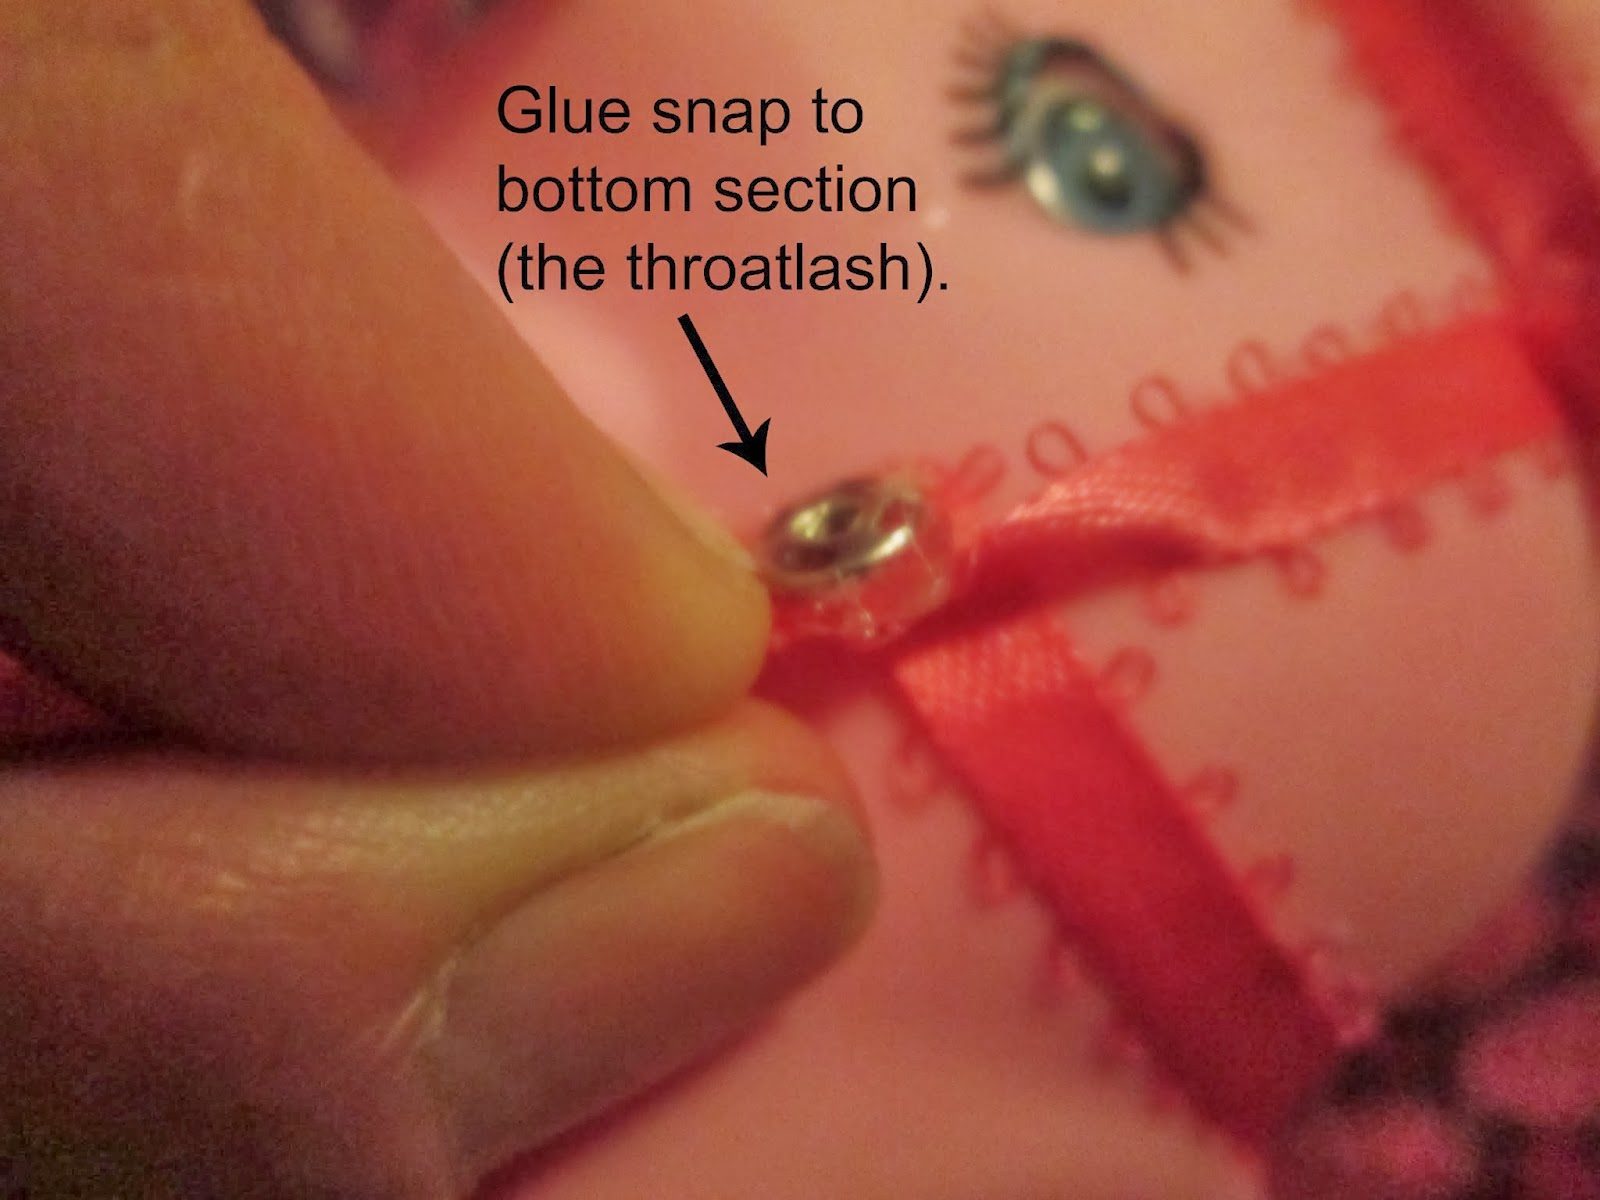
6. Position snaps and glue together. Lastly, glue the BOTTOM of the throatlash to the underside of the cheek piece BUT NOT THE BROWBAND PIECE. It’ll make it easier for the bridle to be taken off and put back on (because let’s face it, even toy horses need a break from riding once in a while).
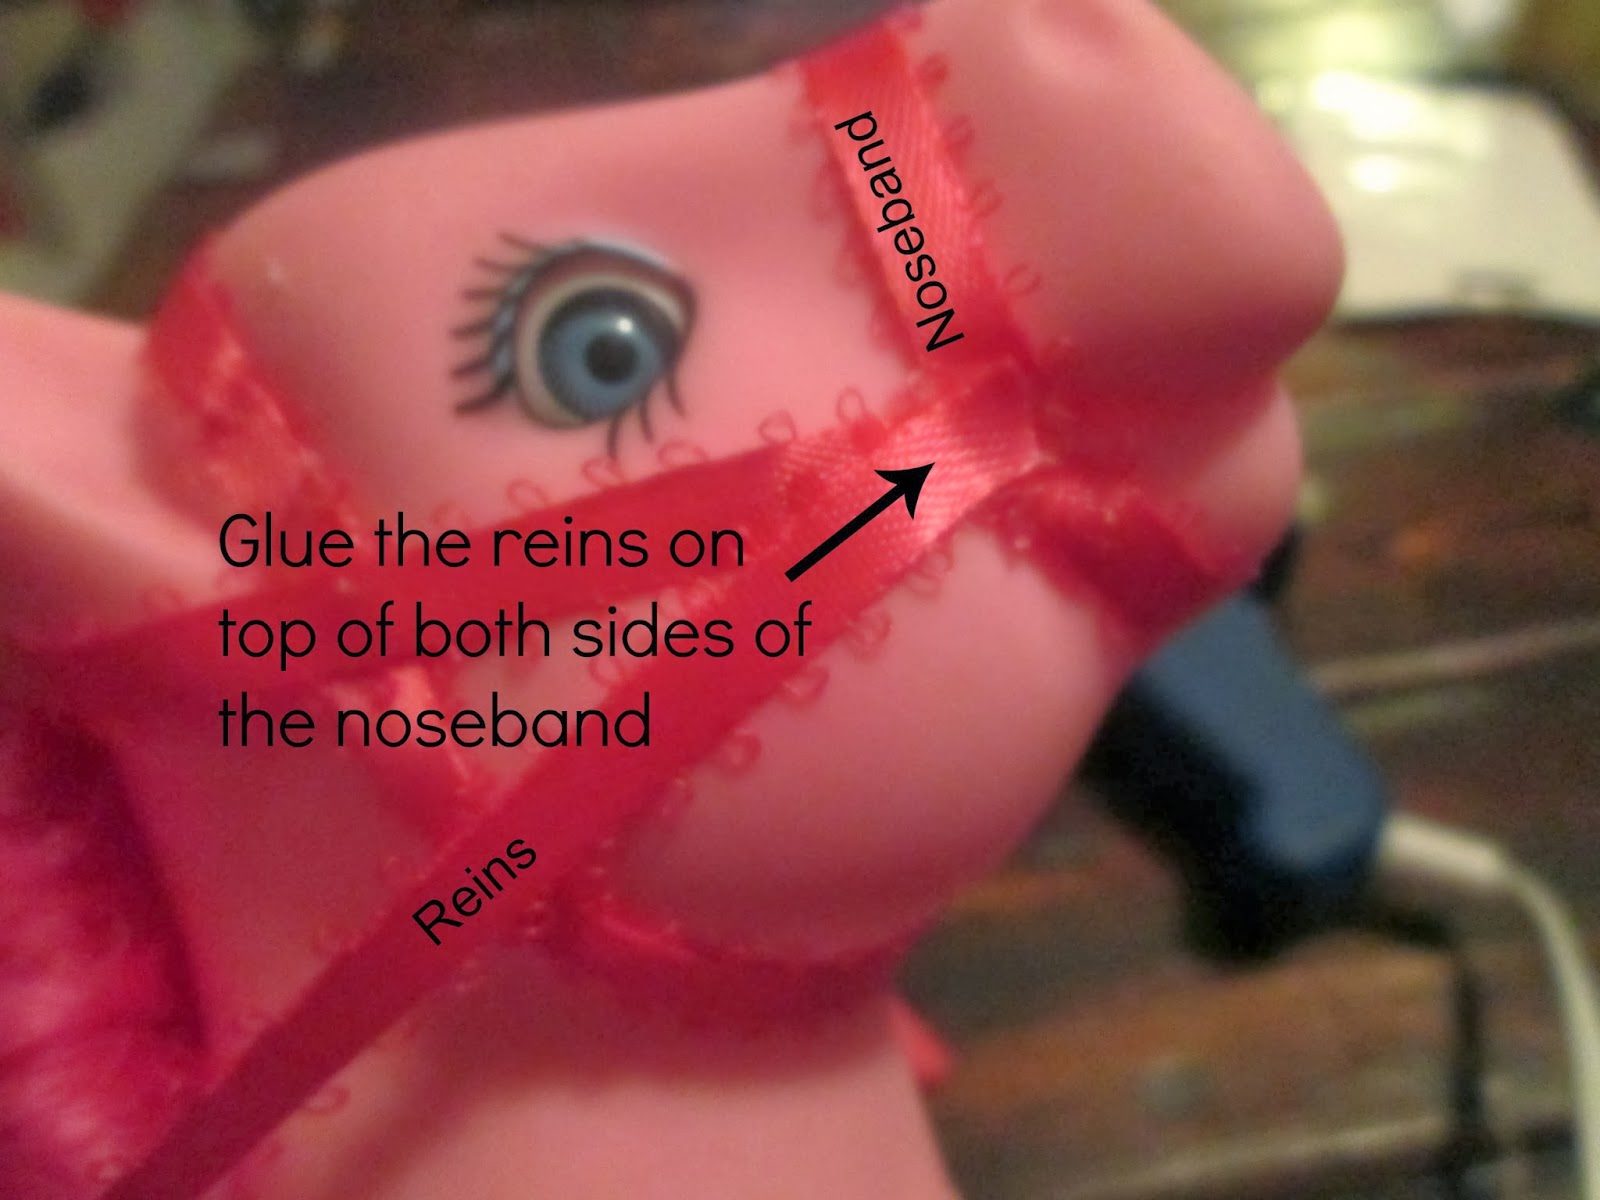
7. Measure and cut a piece of ribbon for the reins, measure from one side of the noseband to the other. Glue at the corner of the mouth on the noseband.
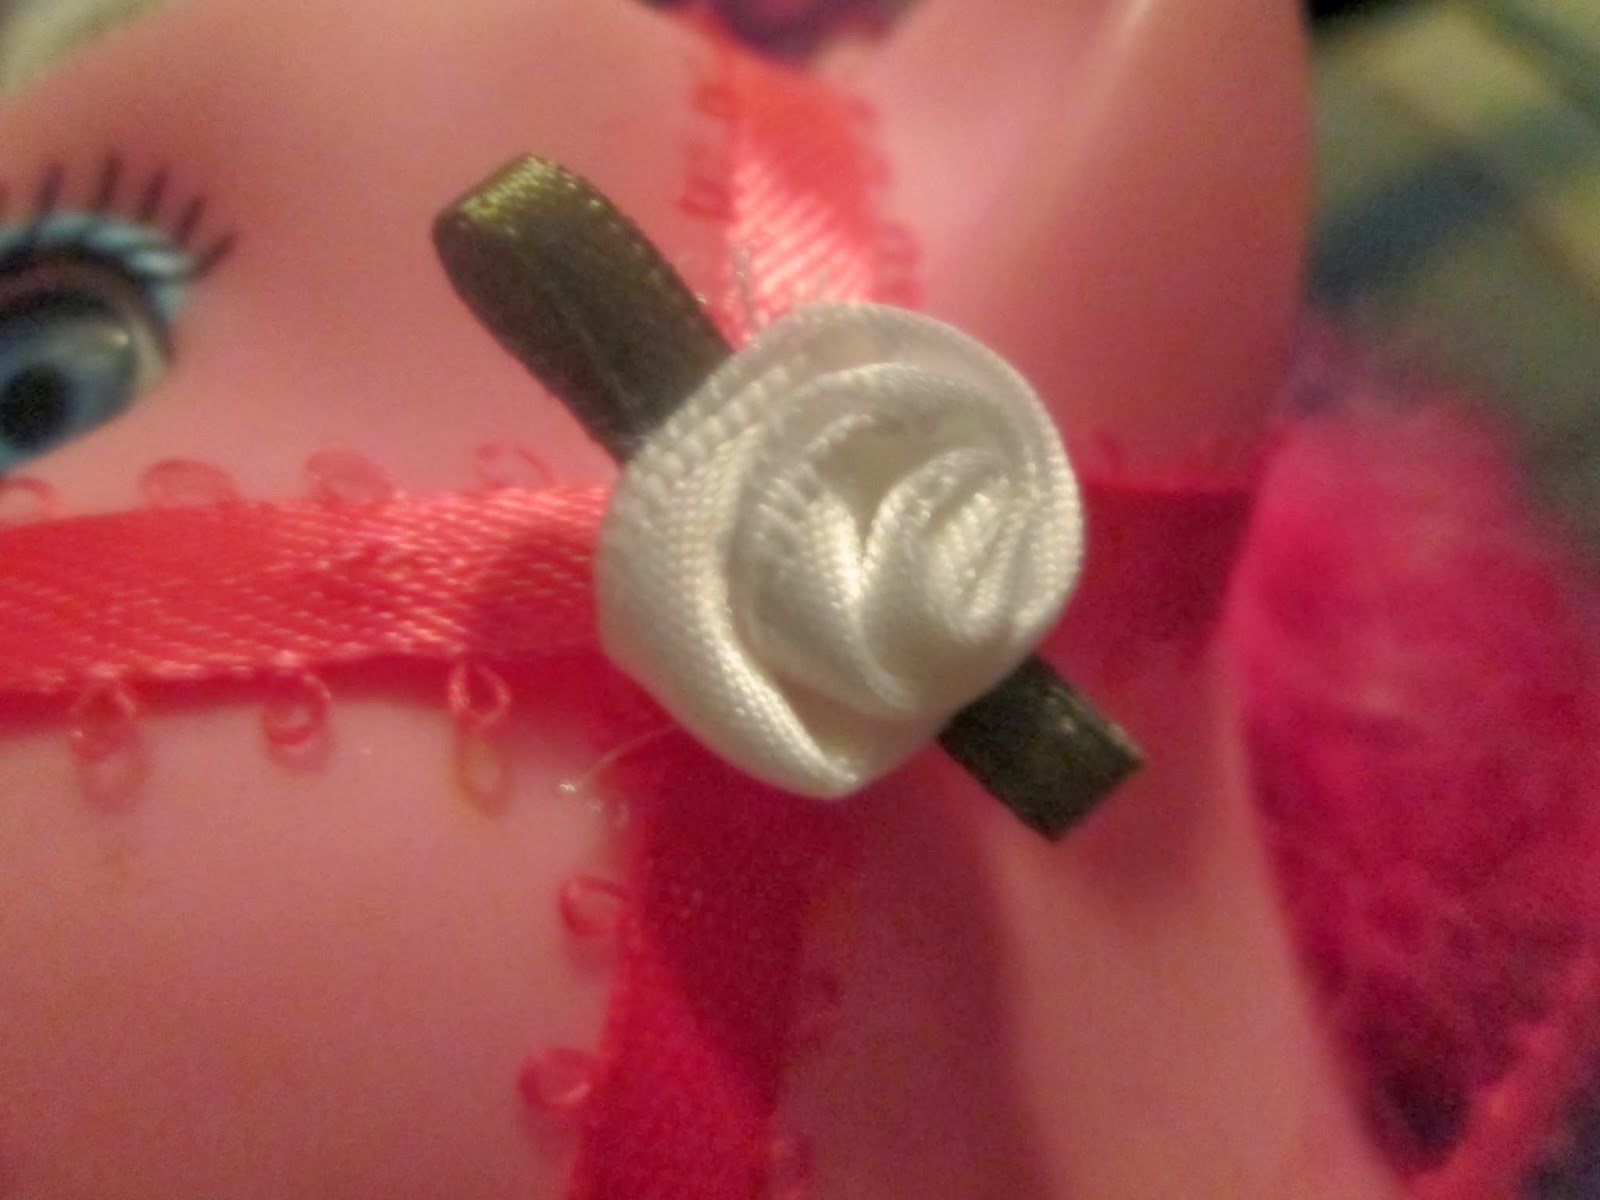
8. Add some bling, sparkle and frills if desired.
9. Ride off into the sunset.

